Apache Camel 可以很方便的和IBM MQ进行通信,下面是一些Tips。
1.IBM MQ 安装
Docker安装IBM MQ(注意 镜像不支持M1芯片的Mac)
#下载 镜像
 docker pull ibmcom/mq:9.2.4.0-r1

#运行容器
 docker run  --name ibmmq -p 1414:1414  -p 9443:9443 -e LICENSE=accept  -e MQ_QMGR_NAME=QM1  -e MQ_APP_PASSWORD=passw0rd -d ibmcom/mq:9.2.4.0-r1
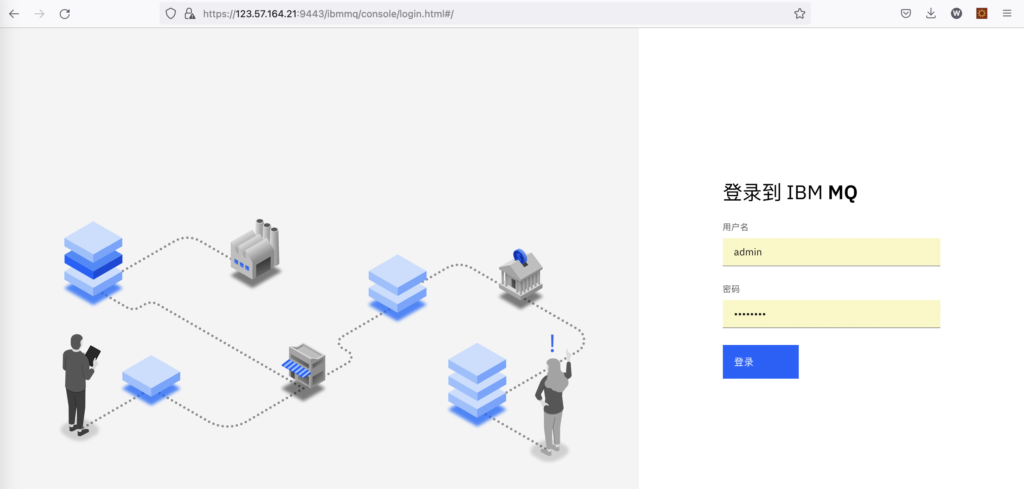
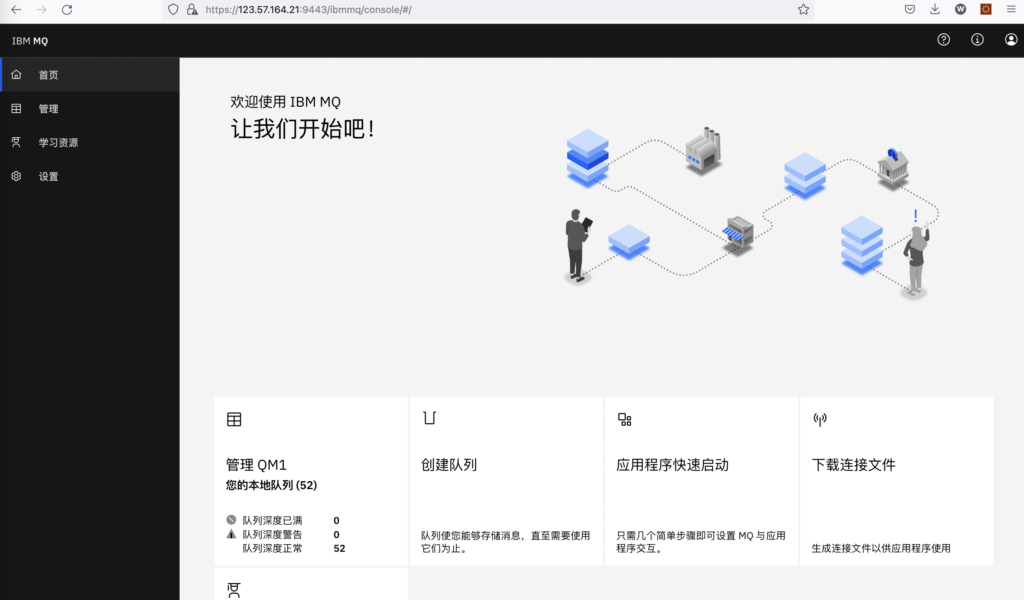
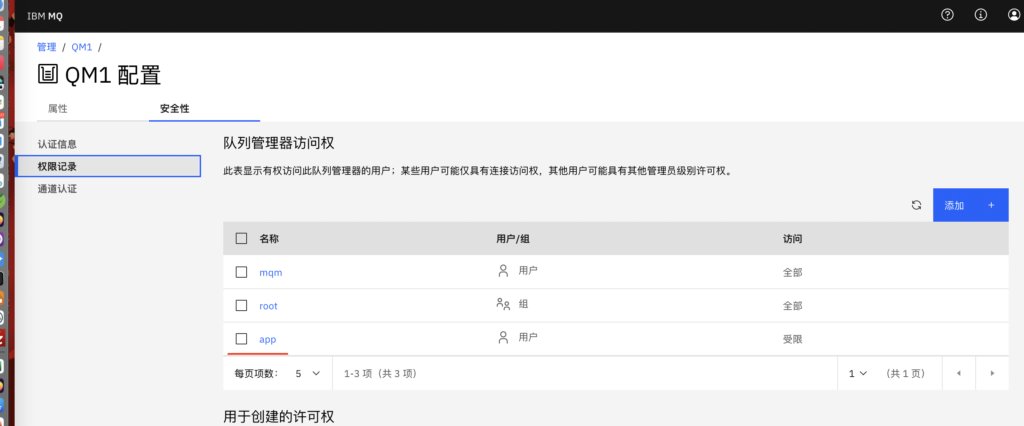
2.IBM MQの管理页面
https://ip host地址:9443/ibmmq
username: admin
password: passw0rd
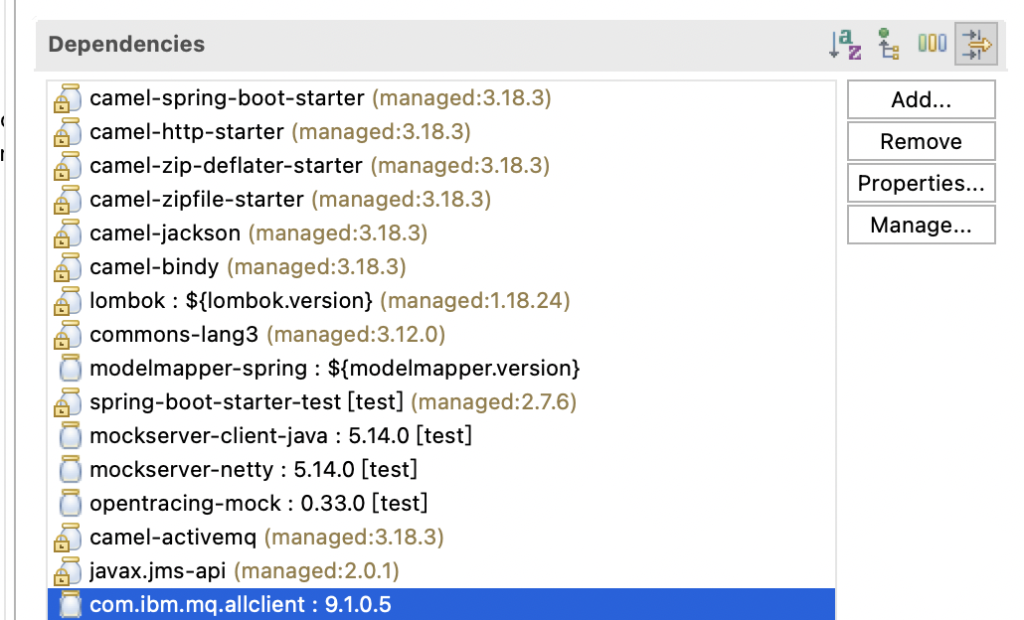
3.Camel Maven工程 IBM MQ Pom导入
<dependency>
    <groupId>org.apache.camel</groupId>
    <artifactId>camel-jms</artifactId>
    <scope>provided</scope>
</dependency>
<dependency>
    <groupId>com.ibm.mq</groupId>
    <artifactId>com.ibm.mq.allclient</artifactId>
    <version>9.1.0.5</version>
</dependency>
4.Camel 工程中 Spring DSL (XML) Sample
<?xml version="1.0" encoding="UTF-8"?>
<beans xmlns="http://www.springframework.org/schema/beans"
    xmlns:xsi="http://www.w3.org/2001/XMLSchema-instance"
    xsi:schemaLocation="
        http://www.springframework.org/schema/beans http://www.springframework.org/schema/beans/spring-beans.xsd
        http://camel.apache.org/schema/spring http://camel.apache.org/schema/spring/camel-spring.xsd">

    <!-- コンテキスト定義 -->
    <bean id="mqConnectionFactory" class="com.ibm.mq.jms.MQConnectionFactory">
        <property name="hostName" value="123.57.164.21" />
        <property name="port" value="1414" />
        <property name="queueManager" value="QM1" />
        <property name="channel" value="DEV.APP.SVRCONN" />
        <property name="transportType" value="1" />
        <property name="shareConvAllowed" value="0" />
    </bean>

    <bean id="mqcredential" class="org.springframework.jms.connection.UserCredentialsConnectionFactoryAdapter">
        <property name="targetConnectionFactory"
            ref="mqConnectionFactory" />
        <property name="username" value="app" />
        <property name="password" value="" />
    </bean>

    <bean id="mq" class="org.apache.camel.component.jms.JmsComponent">
        <property name="connectionFactory" ref="mqcredential" />
        <property name="maxConcurrentConsumers" value="1" />
        <property name="cacheLevelName" value="CACHE_CONSUMER" />
    </bean>

    <!-- コンテキスト定義 -->
    <routeContext id="route-1"
        xmlns="http://camel.apache.org/schema/spring">
        <!-- メイン -->
        <route id="mainroute-1">
            <!--  メッセージの読み取り  -->
            <from uri="mq:queue:DEV.QUEUE.1"/>
            <log loggingLevel="DEBUG" message=">>>${body}" />
            <!--  メッセージを送信 -->
            <to uri="mq:queue:DEV.QUEUE.2"/>
        </route>
    </routeContext>
</beans>
5.一些问题
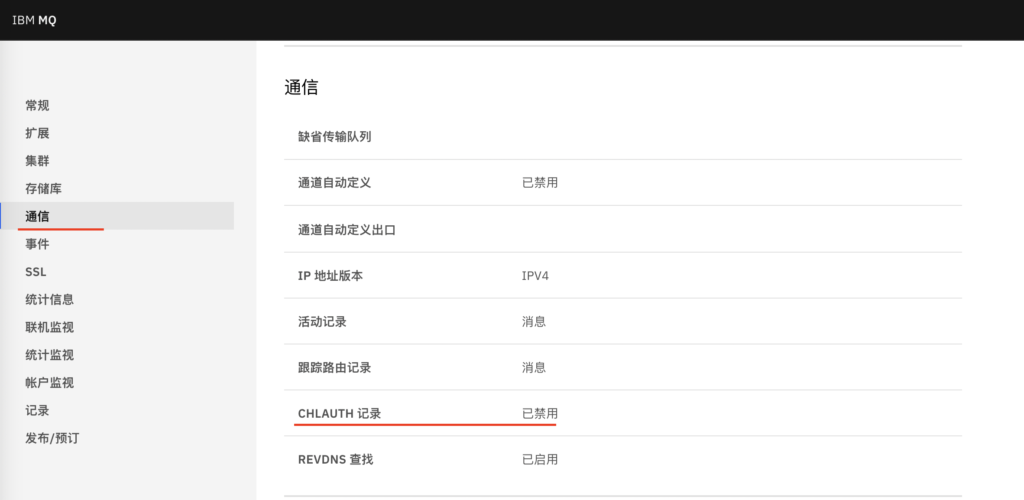
JMSWMQ2013: 为队列管理器“QM1”提供的安全性认证无效,连接方式为“Client”,主机名为“192.168.1.1(1415)”。 请检查提供的用户名和密码在您连接至的队列管理器中
如果出现这个错误,QM1 队列管理器。关闭CHLAUTH记录
JMSCMQ0001: WebSphere MQ 调用失败,完成代码为“2”(“MQCC_FAILED”),原因为“2035”(“MQRC_NOT_AUTHORIZED”)。
用这个app账户去连接
    <bean id="mqcredential" class="org.springframework.jms.connection.UserCredentialsConnectionFactoryAdapter">
        <property name="targetConnectionFactory"
            ref="mqConnectionFactory" />
        <property name="username" value="app" />
        <property name="password" value="" />
    </bean>
6.补充Java DSL (Java言語)sample
IBM MQ provides these messaging and queuing capabilities across multiple modes of operation: point-to-point ; publish/subscribe. You can easily integrate with this messaging provider by using the camel JMSComponent by setting the MQQueueConnectionFactory properties either in configuration or using Java DSL.
Let’s check how to write a Java DSL class which defines the JmsComponent named “mq” which takes the MQQueueConnectionFactory from Class variable:
import org.apache.camel.component.jms.JmsComponent;
import org.slf4j.Logger;
import org.slf4j.LoggerFactory;
import org.springframework.beans.factory.annotation.Value;
import org.springframework.context.annotation.Bean;
import org.springframework.context.annotation.Configuration;
import org.springframework.context.annotation.Primary;
import org.springframework.jms.connection.CachingConnectionFactory;
import org.springframework.jms.connection.JmsTransactionManager;
import org.springframework.jms.connection.UserCredentialsConnectionFactoryAdapter;
import org.springframework.transaction.PlatformTransactionManager;
import org.springframework.transaction.annotation.EnableTransactionManagement;
import com.ibm.mq.jms.MQQueueConnectionFactory;
import com.ibm.msg.client.wmq.WMQConstants;
@Configuration
@EnableTransactionManagement
public class JmsConfiguration {
  private static final Logger LOG = LoggerFactory.getLogger(JmsConfiguration.class);
  private String host = "localhost";
  private int port = 1414;
  private String queueManager = "QM1";
  private String channel = "DEV.APP.SVRCONN";
  private String username = "app";
  private String password = "";
  private long receiveTimeout = 2000;
  @Bean
  public JmsComponent mq() {
    JmsComponent jmsComponent = new JmsComponent();
    jmsComponent.setConnectionFactory(mqQueueConnectionFactory());
    return jmsComponent;
  }
  @Bean
  public MQQueueConnectionFactory mqQueueConnectionFactory() {
    MQQueueConnectionFactory mqQueueConnectionFactory = new MQQueueConnectionFactory();
    mqQueueConnectionFactory.setHostName(host);
    try {
      mqQueueConnectionFactory.setTransportType(WMQConstants.WMQ_CM_CLIENT);
      mqQueueConnectionFactory.setChannel(channel);
      mqQueueConnectionFactory.setPort(port);
      mqQueueConnectionFactory.setQueueManager(queueManager);
    } catch (Exception e) {
      LOG.error(e.getMessage(), e);
    }
    return mqQueueConnectionFactory;
  }
  @Bean
  public UserCredentialsConnectionFactoryAdapter userCredentialsConnectionFactoryAdapter(
      MQQueueConnectionFactory mqQueueConnectionFactory) {
    UserCredentialsConnectionFactoryAdapter userCredentialsConnectionFactoryAdapter =
        new UserCredentialsConnectionFactoryAdapter();
    userCredentialsConnectionFactoryAdapter.setUsername(username);
    userCredentialsConnectionFactoryAdapter.setPassword(password);
    userCredentialsConnectionFactoryAdapter.setTargetConnectionFactory(mqQueueConnectionFactory);
    return userCredentialsConnectionFactoryAdapter;
  }
  @Bean
  @Primary
  public CachingConnectionFactory cachingConnectionFactory(
      UserCredentialsConnectionFactoryAdapter userCredentialsConnectionFactoryAdapter) {
    CachingConnectionFactory cachingConnectionFactory = new CachingConnectionFactory();
    cachingConnectionFactory.setTargetConnectionFactory(userCredentialsConnectionFactoryAdapter);
    cachingConnectionFactory.setSessionCacheSize(500);
    cachingConnectionFactory.setReconnectOnException(true);
    return cachingConnectionFactory;
  }
  @Bean
  public PlatformTransactionManager jmsTransactionManager(
      CachingConnectionFactory cachingConnectionFactory) {
    JmsTransactionManager jmsTransactionManager = new JmsTransactionManager();
    jmsTransactionManager.setConnectionFactory(cachingConnectionFactory);
    return jmsTransactionManager;
  }
}
In order to use the JMSComponent, you can implement a simple Route like this:
import org.apache.camel.builder.RouteBuilder;
import org.springframework.stereotype.Component;
@Component
public class CamelRouteBuilder extends RouteBuilder {
  public void configure() throws Exception {
    from("timer:mytimer?period=5000")
        .routeId("generate-route")
        .transform(constant("HELLO from Camel!"))
        .to("mq:queue:DEV.QUEUE.1");
  }
}