本篇文章讲解的id(),大家可能并没有使用过,但了解这个技术,在特定的场景下,会帮助我们解决一些重要的问题。
什么是id()
struct Example1: View {
    @State private var text = ""
    @State private var textFieldId = 0

    var body: some View {
        VStack {
            TextField("请输入邮箱", text: $text)
                .id(textFieldId)
        }
        .padding(.horizontal, 20)
        .textFieldStyle(RoundedBorderTextFieldStyle())
    }
}
我们看一下id()的定义:
extension View {

    /// Returns a view whose identity is explicitly bound to the proxy
    /// value `id`. When `id` changes the identity of the view (for
    /// example, its state) is reset.
    @inlinable public func id<ID>(_ id: ID) -> some View where ID : Hashable
}
可以看出来,当我们使用id()为某个view绑定了一个唯一的标识后,当该标识的值改变后,表面上看,该view就会回到初始状态,实际上,当标识改变后,系统创建了一个新的view。
重置状态
按照正常逻辑,当我们标识了某个view后,我们可以随意控制该view,比如把view移动到不同的容器中,像变量一样的使用view。但实际并不是这么回事。我们先看一个例子:

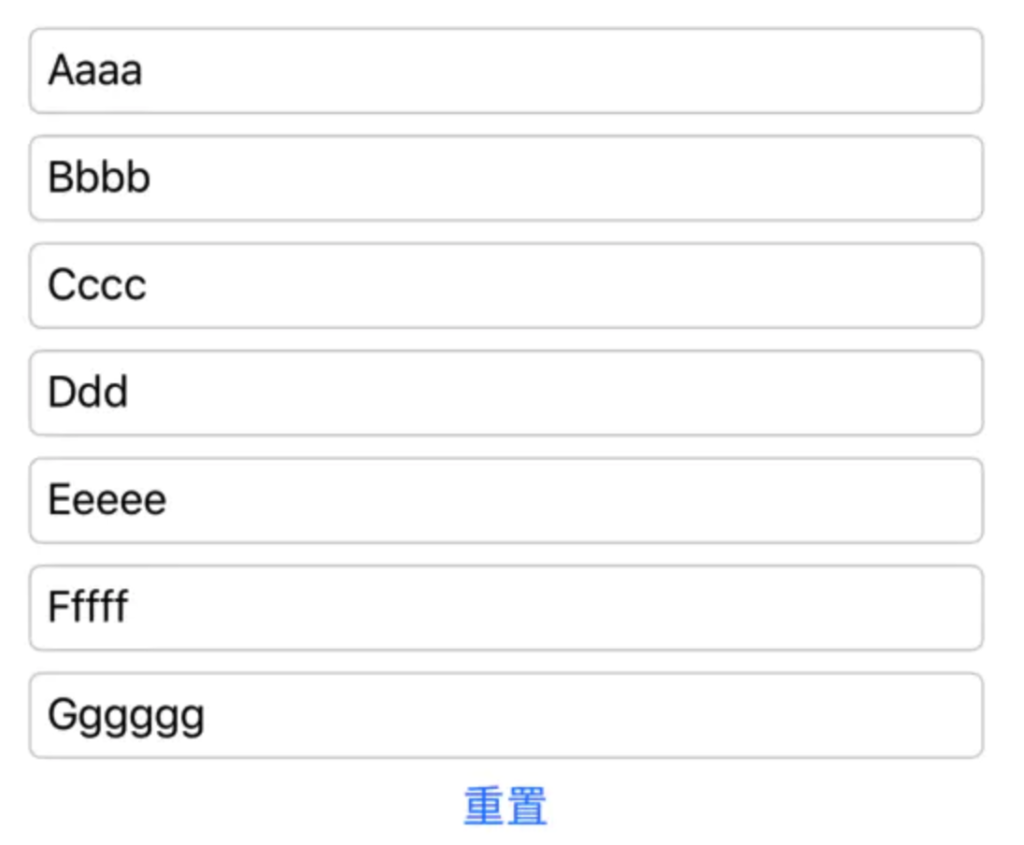
这个一个非常简单的例子,当点击重置按钮后,TextField重置状态,按照正常逻辑,我们的代码应该是这样的:
struct Example1: View {
    @State private var text = ""
    @State private var textFieldId = 0

    var body: some View {
        VStack {
            TextField("请输入邮箱", text: $text)
                .id(textFieldId)

            Button("重置") {
                self.text = ""
            }
        }
        .padding(.horizontal, 20)
        .textFieldStyle(RoundedBorderTextFieldStyle())
    }
}
我们使用self.text = ""清空了输入框中的内容,在这个例子中,我们Example1中的状态并不多,只有两个:
@State private var text = ""
@State private var textFieldId = 0
但是,如果,状态很多呢?类似下边这种情况:

struct Example1: View {
    @State private var text0 = ""
    @State private var text1 = ""
    @State private var text2 = ""
    @State private var text3 = ""
    @State private var text4 = ""
    @State private var text5 = ""
    @State private var text6 = ""
    @State private var textFieldId = 0

    var body: some View {
        VStack {
            VStack {
                TextField("text0", text: $text0)
                TextField("text1", text: $text1)
                TextField("text2", text: $text2)
                TextField("text3", text: $text3)
                TextField("text4", text: $text4)
                TextField("text5", text: $text5)
                TextField("text6", text: $text6)
            }


            Button("重置") {
                self.text0 = ""
                self.text1 = ""
                self.text2 = ""
                self.text3 = ""
                self.text4 = ""
                self.text5 = ""
            }
        }
        .padding(.horizontal, 20)
        .textFieldStyle(RoundedBorderTextFieldStyle())
    }
}
我们在清空的时候,就会写很多重复的代码,如果我们给TextField外层的VStack绑定一个标识,重置这个操作就非常简单。
struct Example1: View {
    @State private var text0 = ""
    ...
    @State private var textFieldId = 0

    var body: some View {
        VStack {
            VStack {
                TextField("text0", text: $text0)
                ...
                TextField("text6", text: $text6)
            }
            .id(textFieldId)


            Button("重置") {
                self.textFieldId += 1
            }
        }
        ...
    }
}
上边的代码中的...是我省略掉了部分代码,我们只关注核心部分。代码看上去特别简单,但当我们运行后,发现:

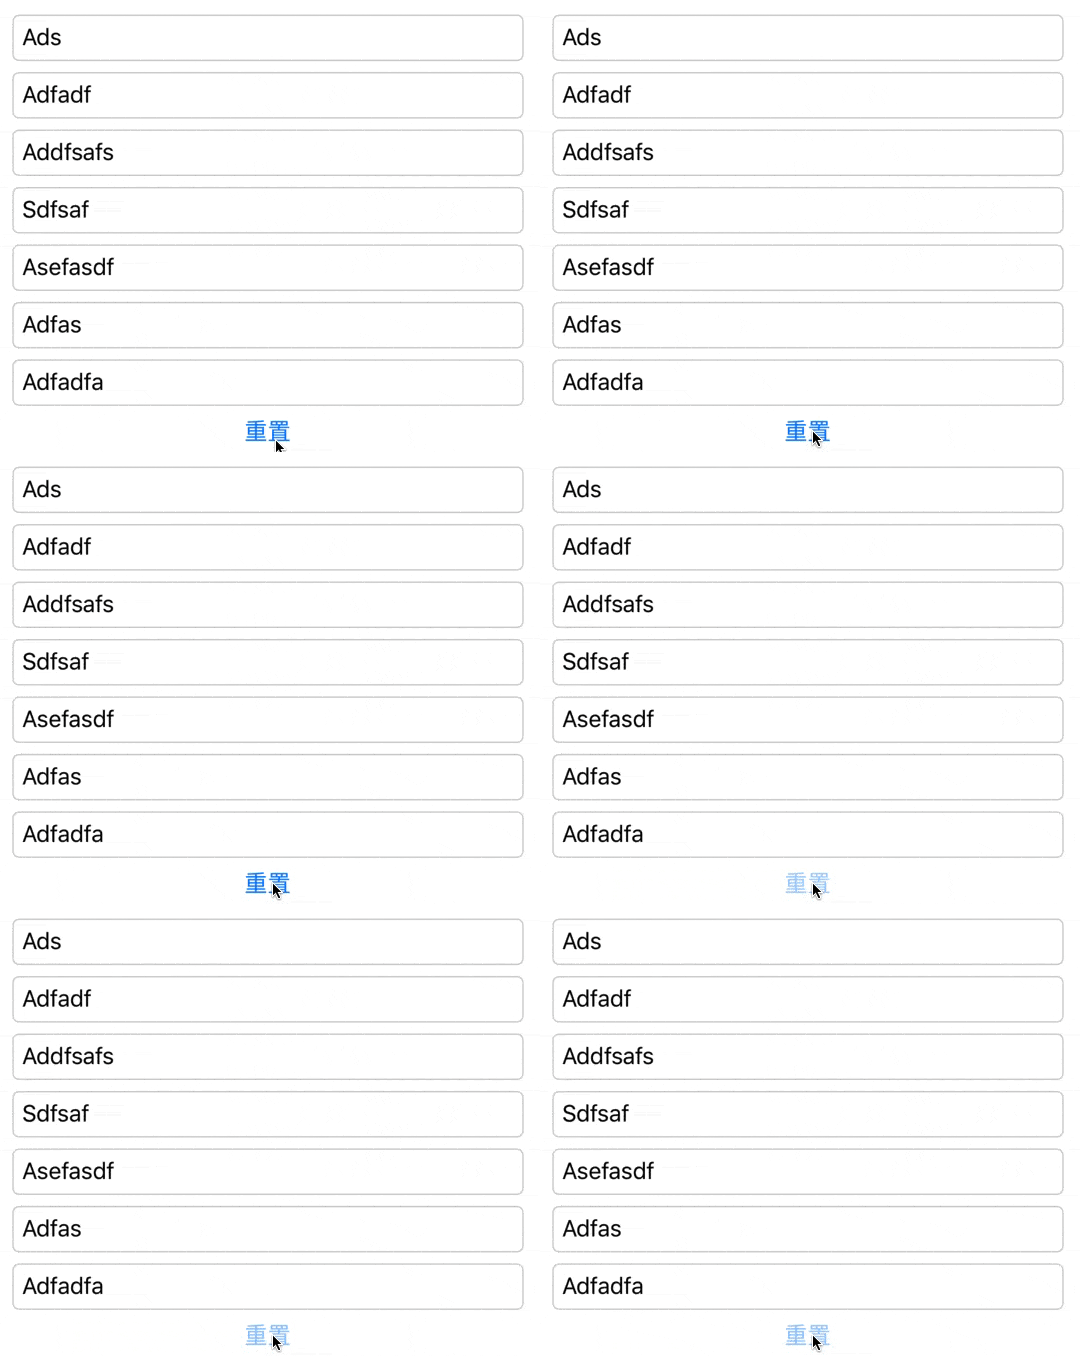
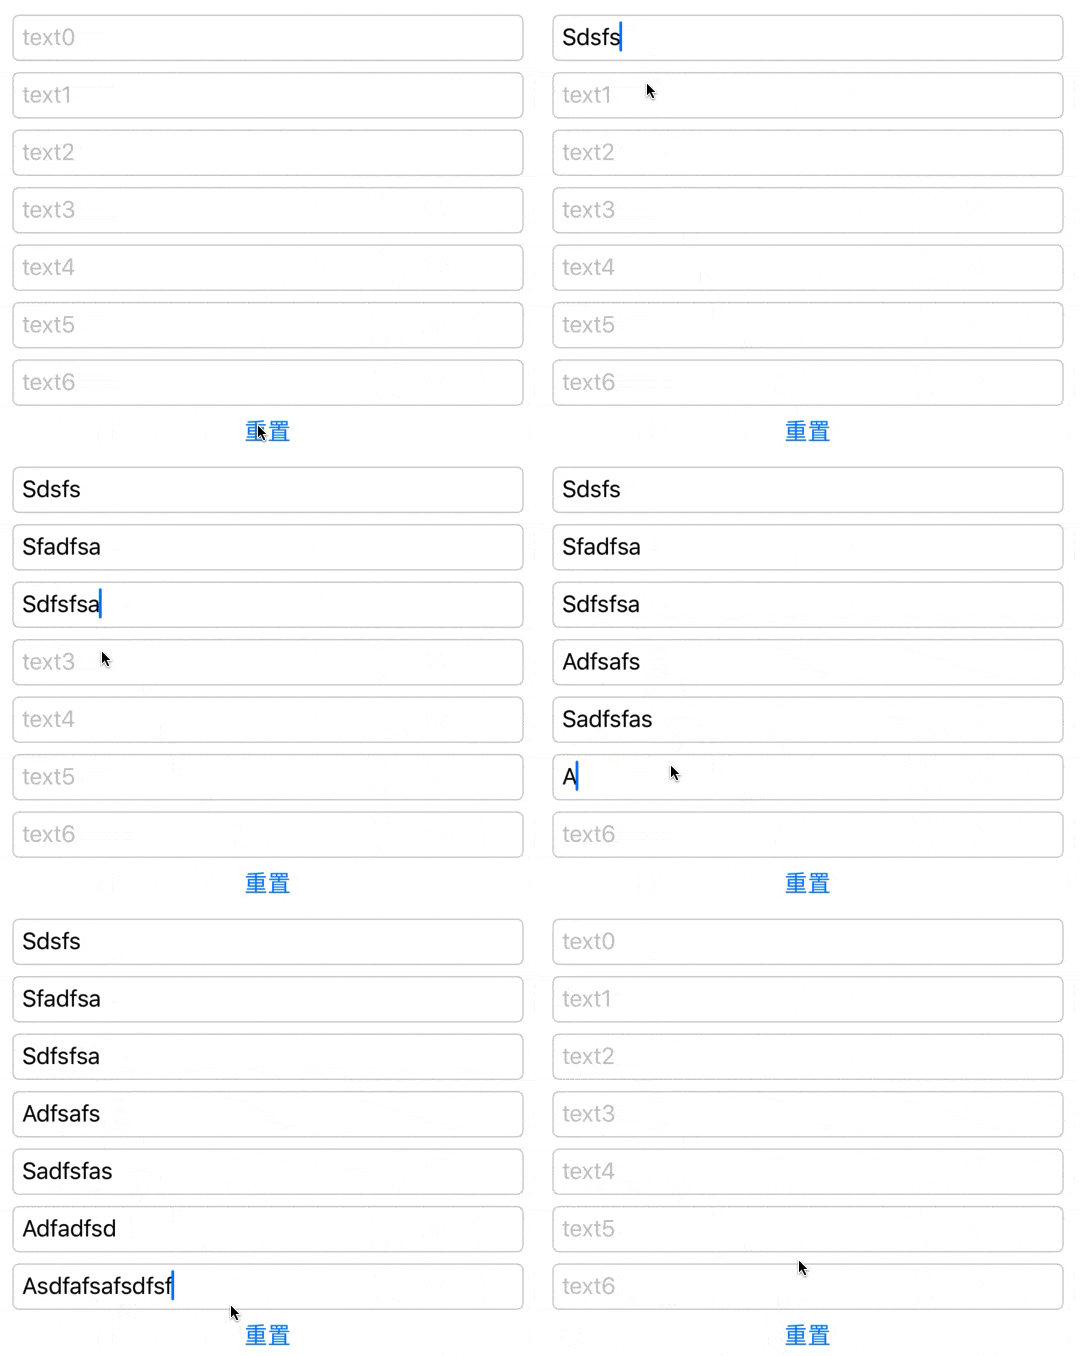
点击并没有任何清空效果,我们修改下代码,把这些TextField放到一个独立的View中:
struct MyCustom: View {
    @State private var text0 = ""
    @State private var text1 = ""
    @State private var text2 = ""
    @State private var text3 = ""
    @State private var text4 = ""
    @State private var text5 = ""
    @State private var text6 = ""

    var body: some View {
        VStack {
            TextField("text0", text: $text0)
            TextField("text1", text: $text1)
            TextField("text2", text: $text2)
            TextField("text3", text: $text3)
            TextField("text4", text: $text4)
            TextField("text5", text: $text5)
            TextField("text6", text: $text6)
        }
        .padding(.horizontal, 20)
        .textFieldStyle(RoundedBorderTextFieldStyle())
    }
}
struct Example2: View {
    @State private var textFieldId = 0

    var body: some View {
        VStack {
            MyCustom()
                .id(textFieldId)

            Button("重置") {
                self.textFieldId += 1
            }
        }
    }
}

通过上边的实验,我们总结出以下几点:
- 宏观上,修改id(),可以把该view重置到初始状态
- 所谓的重置到初始状态,本质上是重新创建了一个新的view
- 需要重置的view必须是一个独立封装的view
第3点很重要,如果我们想通过这种方式来重置view,我们就需要把该view封装成独立的view。