在开发中,有时我们可以把共通的功能或者画面,打包成一个framework,可以供别的项目直接使用。下面是Swift中创建framework的一个例子。
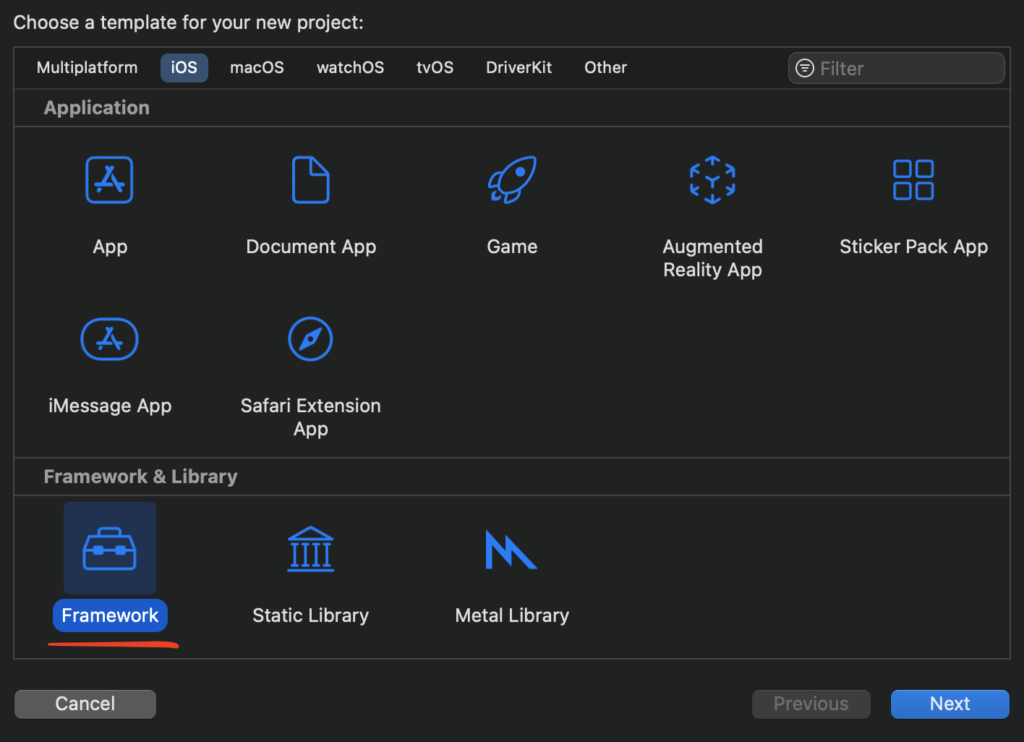
如何创建一个framework呢?
- 新建一个Project,选择创建framework。
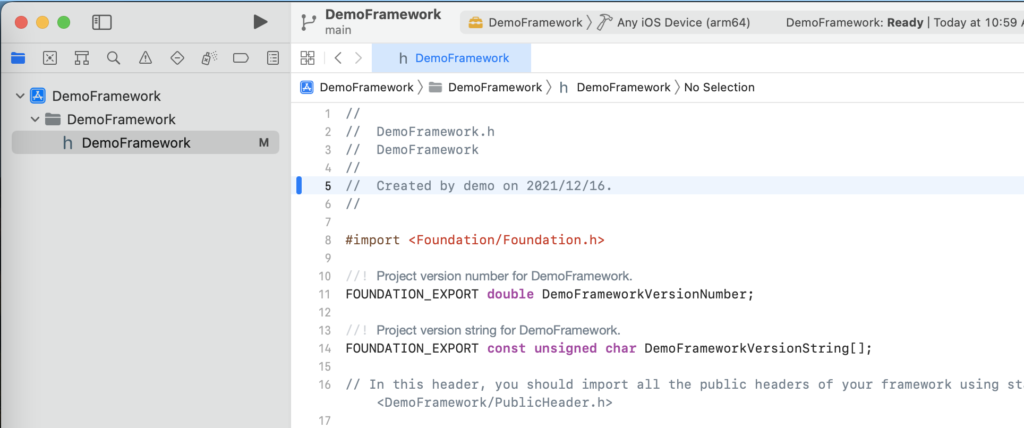
- 可以看到framework和App的工程不同,只有一个.h文件。
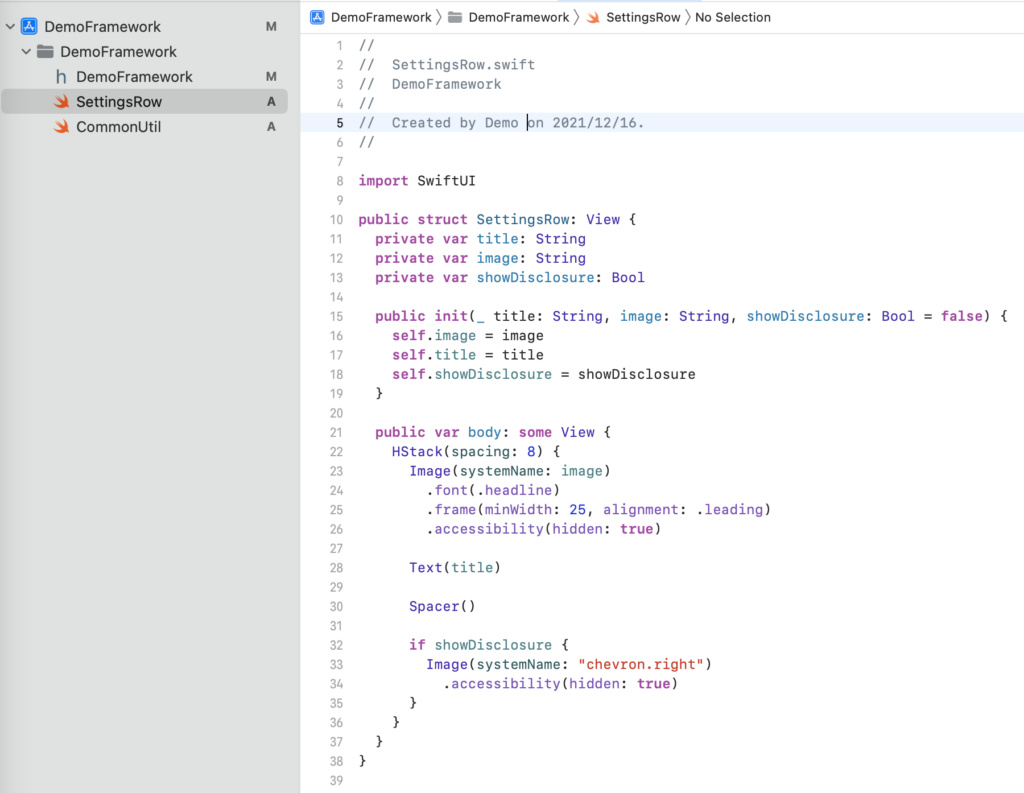
- 我们可以创建SwiftUI View,创建Swift Class等等。但是需要注意,暴露出去的View,类,方法等等一定要加Public关键字,否则别人Import这个FrameWork以后是用不了的。
//
//  SettingsRow.swift
//  DemoFramework
//
//  Created by Demo on 2021/12/16.
//

import SwiftUI

public struct SettingsRow: View {
  private var title: String
  private var image: String
  private var showDisclosure: Bool

  public init(_ title: String, image: String, showDisclosure: Bool = false) {
    self.image = image
    self.title = title
    self.showDisclosure = showDisclosure
  }

  public var body: some View {
    HStack(spacing: 8) {
      Image(systemName: image)
        .font(.headline)
        .frame(minWidth: 25, alignment: .leading)
        .accessibility(hidden: true)

      Text(title)

      Spacer()

      if showDisclosure {
        Image(systemName: "chevron.right")
          .accessibility(hidden: true)
      }
    }
  }
}
//
//  Common.swift
//  DemoFramework
//
//  Created by Demo on 2021/12/16.
//

import Foundation

public class CommonUtil {

    public class func getRequest(url: URL, parameters: [String: Any]) -> URLRequest? {
        var request = URLRequest(url: url)
        request.httpMethod = "POST"
        request.addValue("application/json", forHTTPHeaderField: "Content-Type")
        guard let httpBody = try? JSONSerialization.data(withJSONObject: parameters, options: []) else { return nil }
        request.httpBody = httpBody
        return request
    }
}
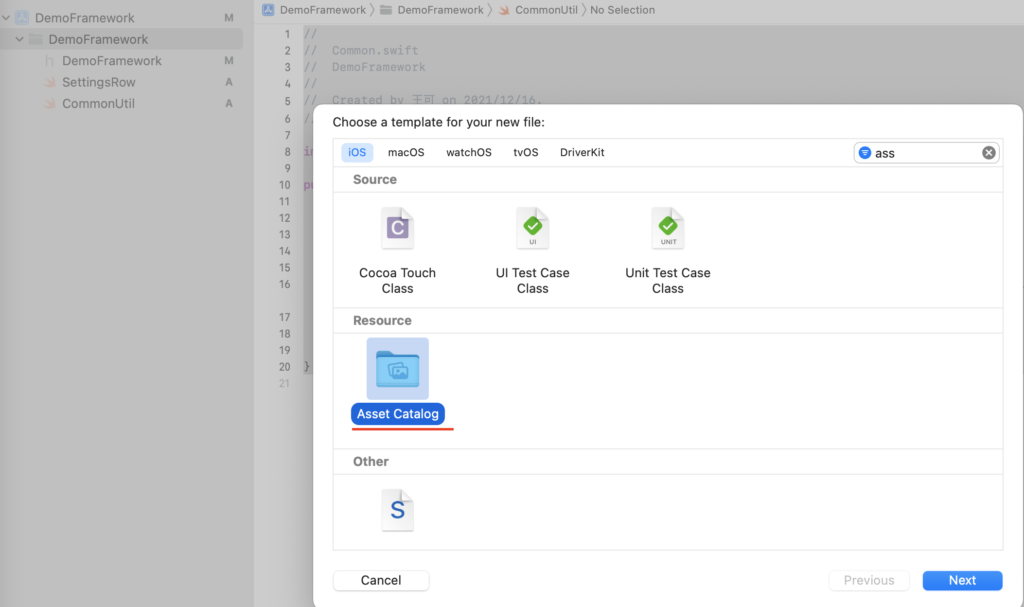
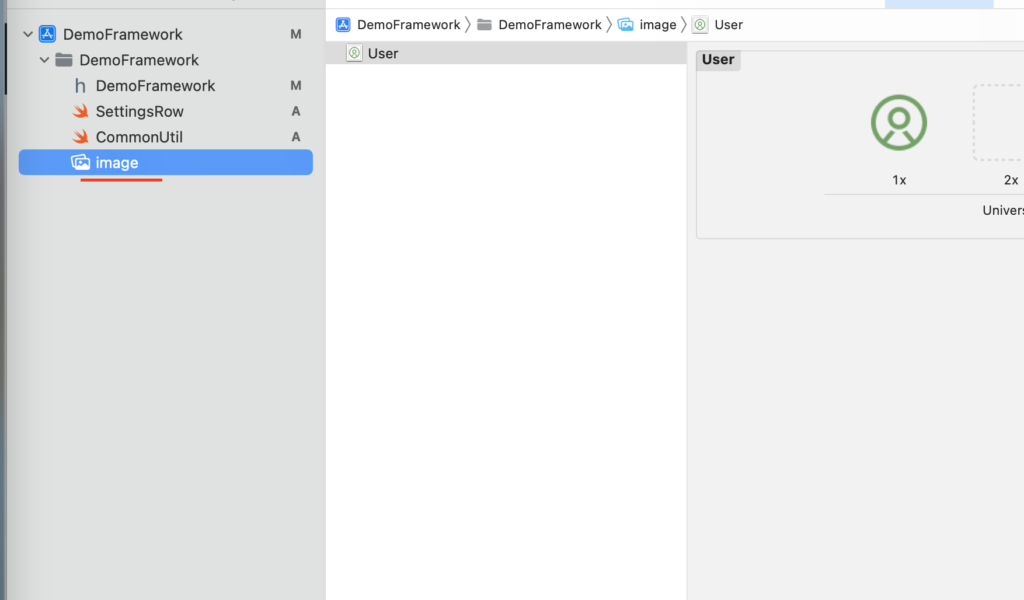
- 如果用到图片资源的话,可以创建Asset Catalog
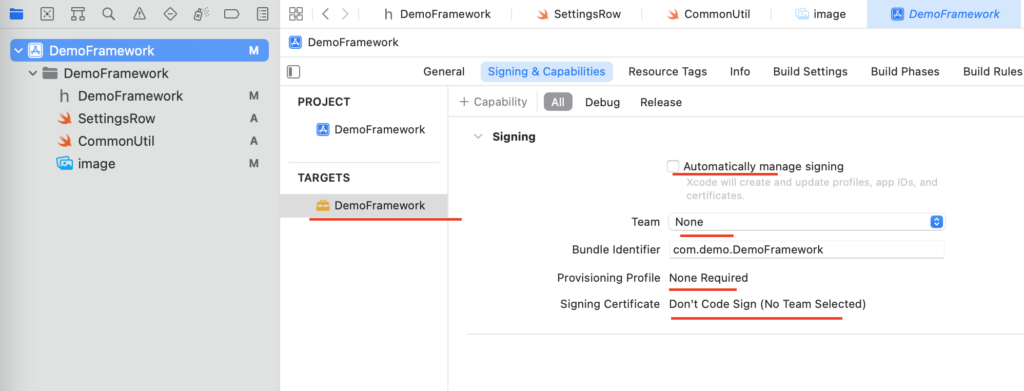
- 修改签名
新建一个工程来使用这个FrameWork
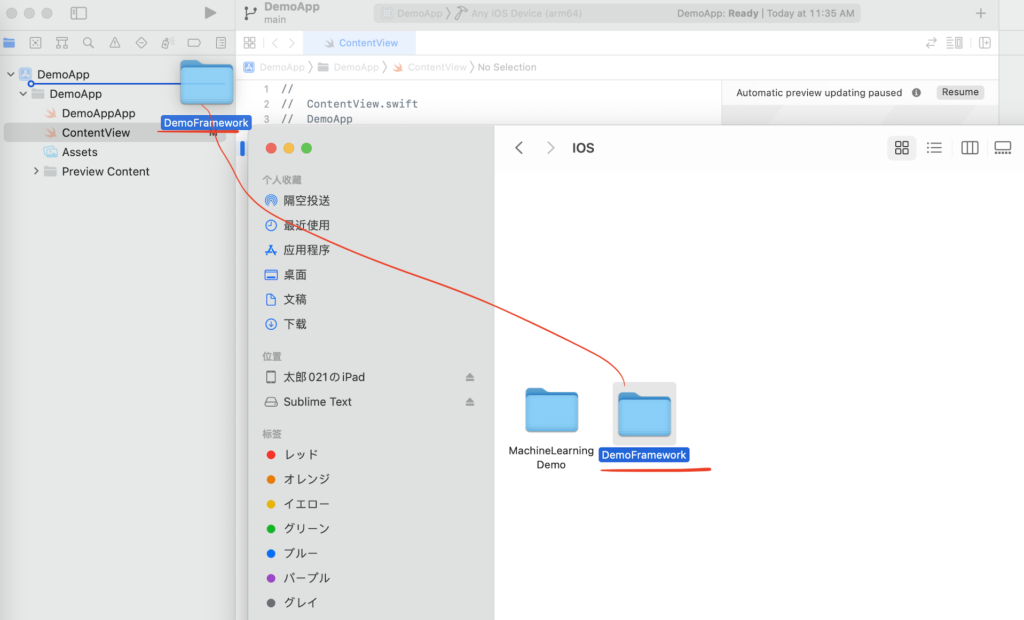
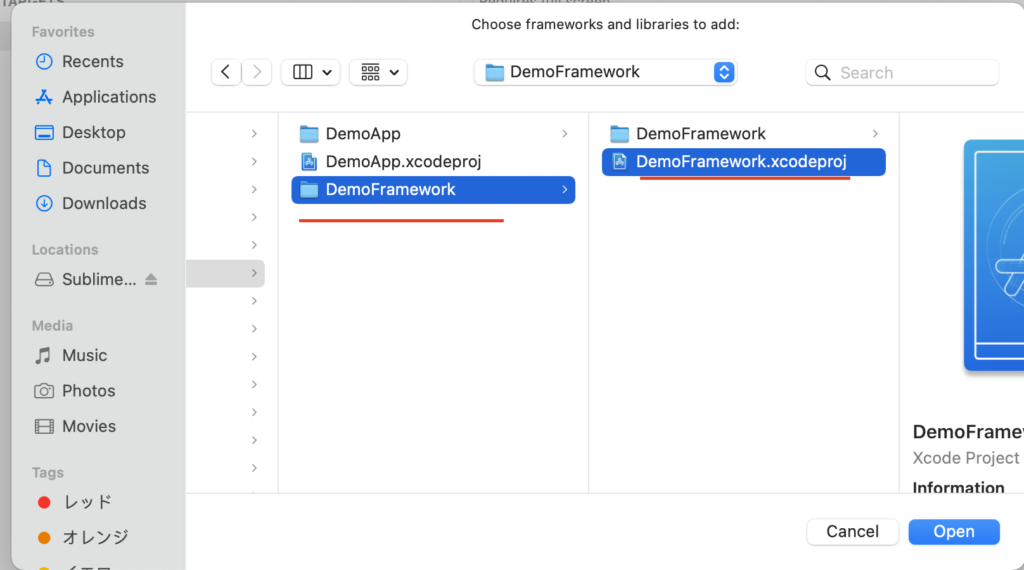
- 拖动DemoFrameWork工程到DemoApp目录下。
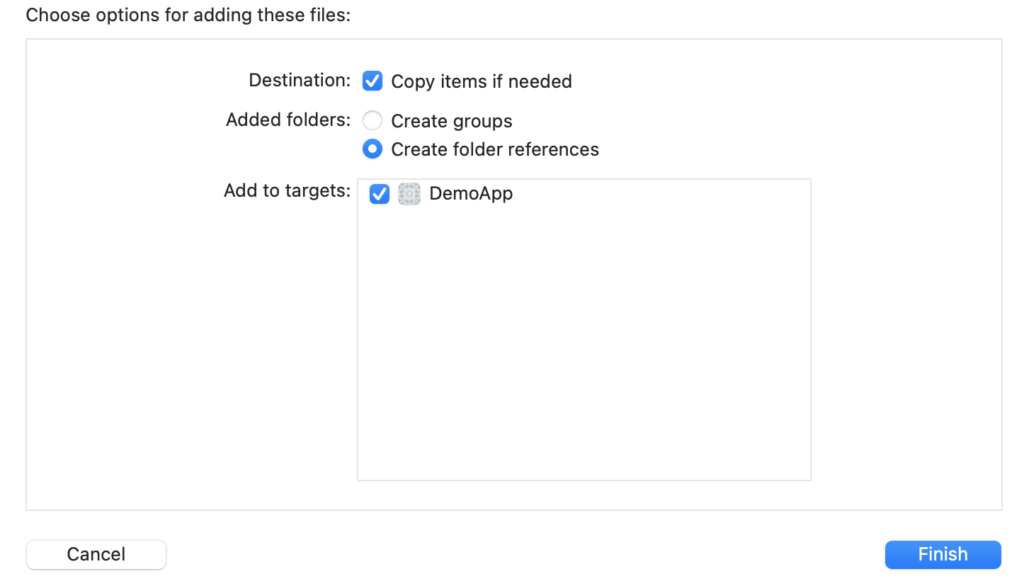
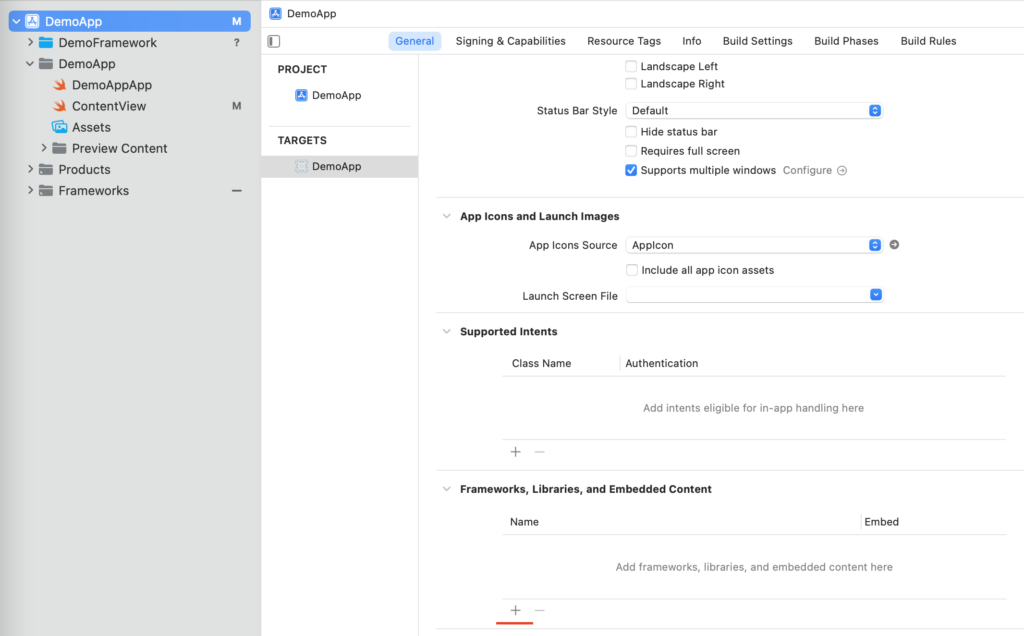
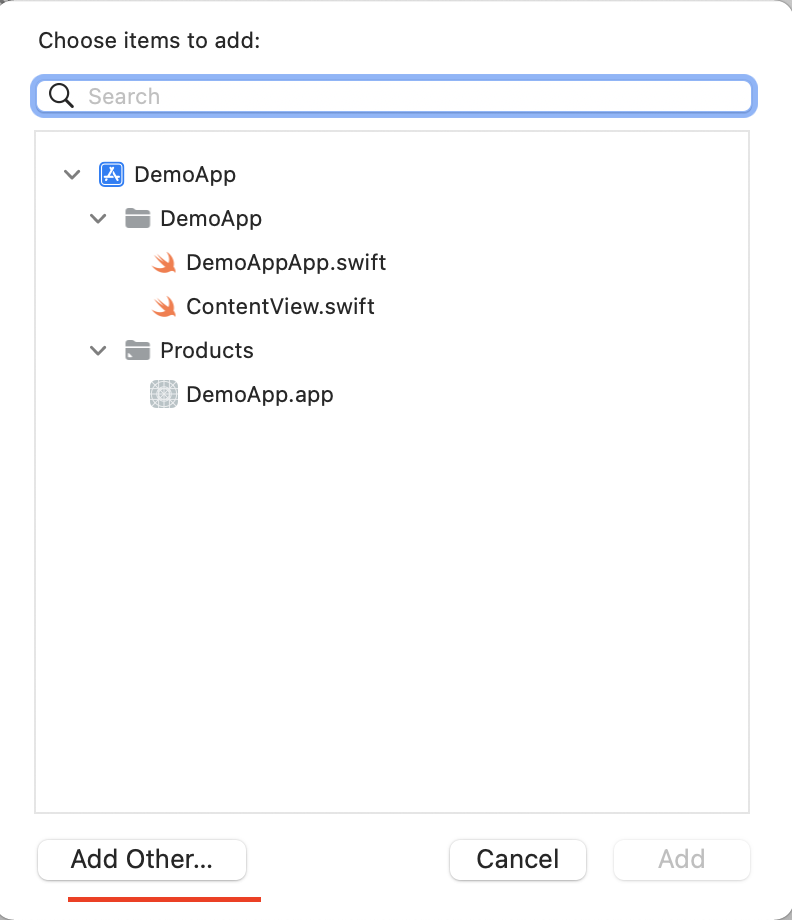
- 在工程里面还要添加一次这个FrameWork。
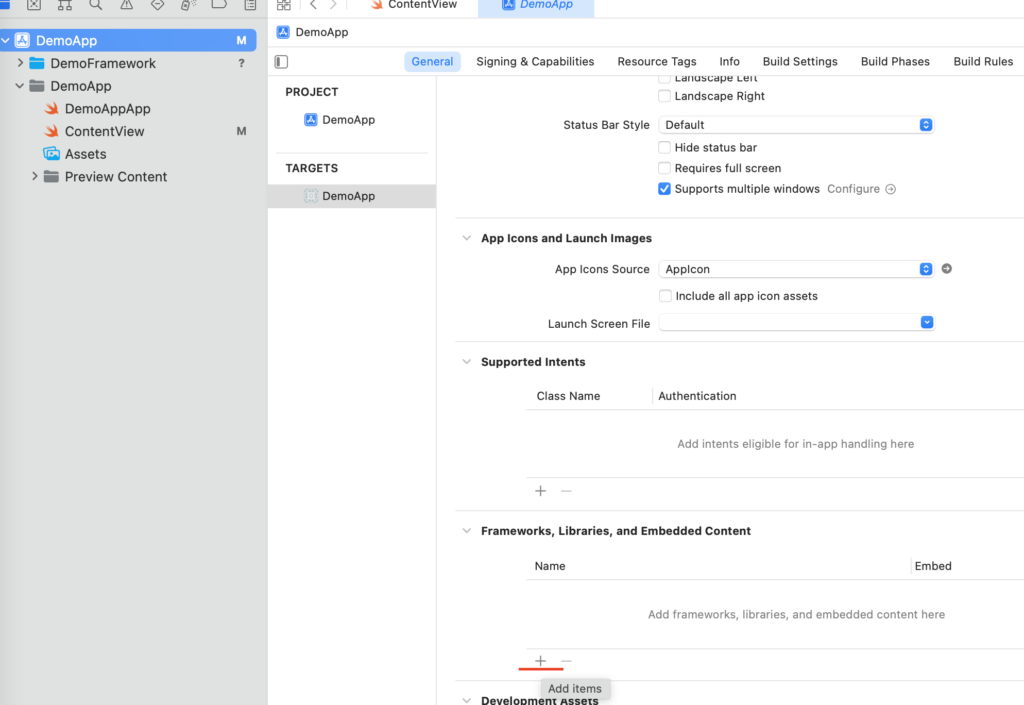
- 追加完文件以后,再次点击+号。
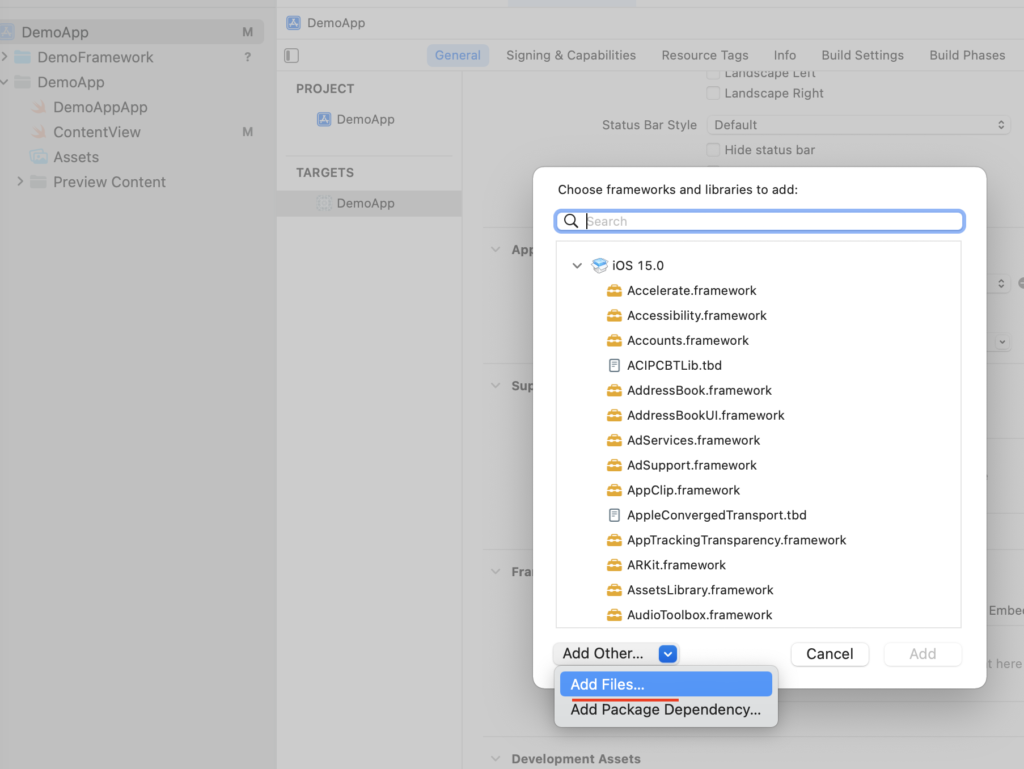
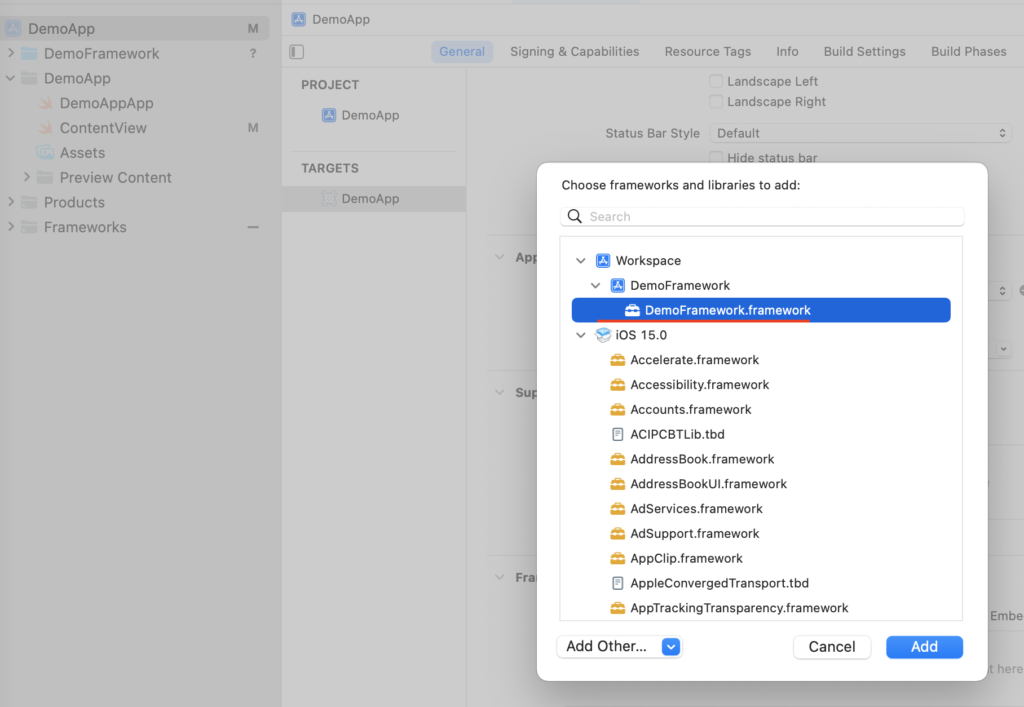
- 这时会发现多了DemoFrameWork,点击添加。
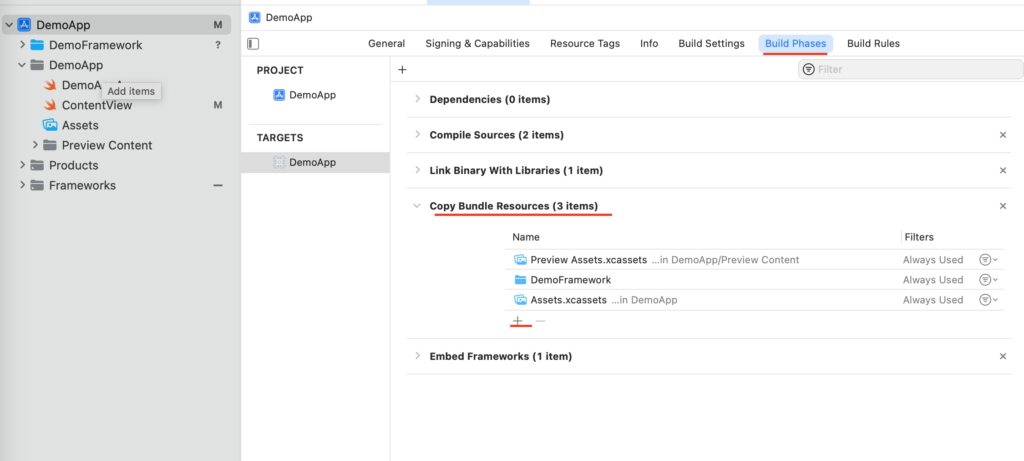
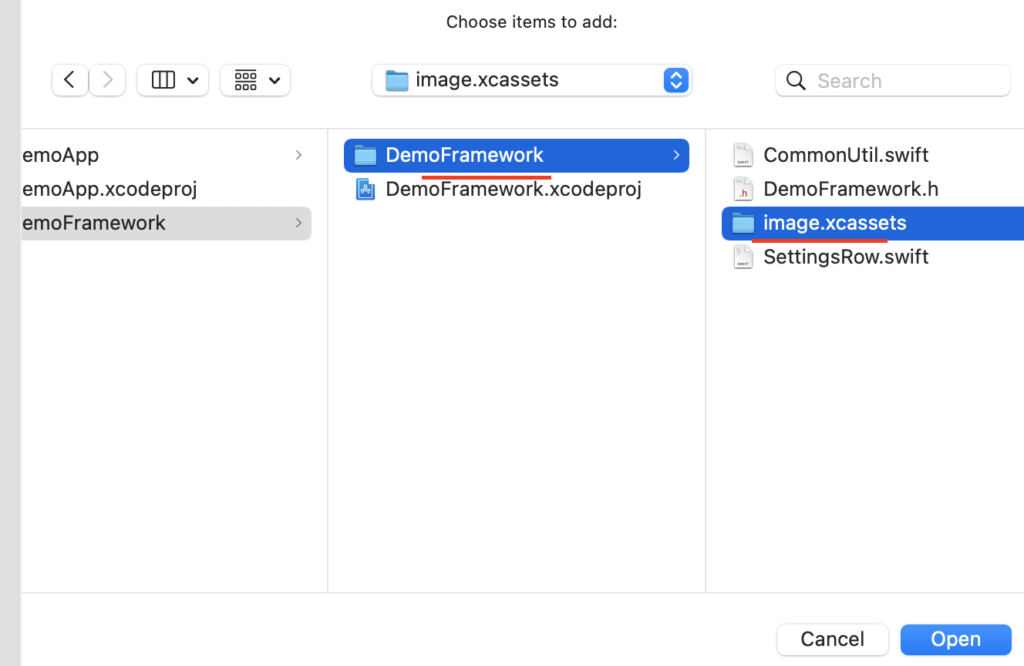
- 添加FrameWork的资源文件。
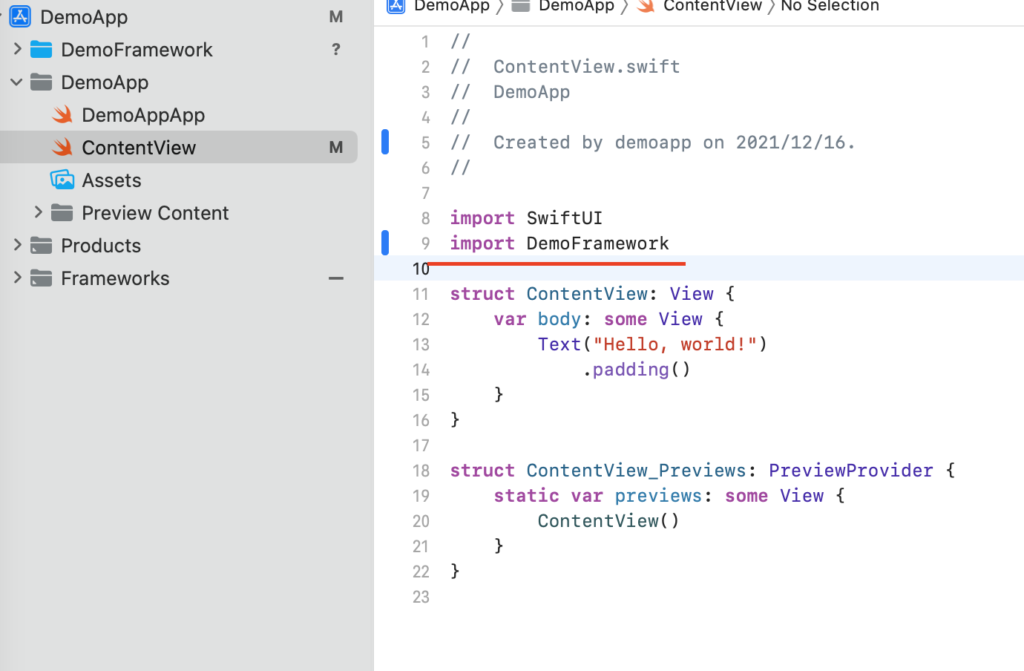
- 回到Swift工程,可以引入SDK快乐的使用了。