1. 登录 IBM Cloud
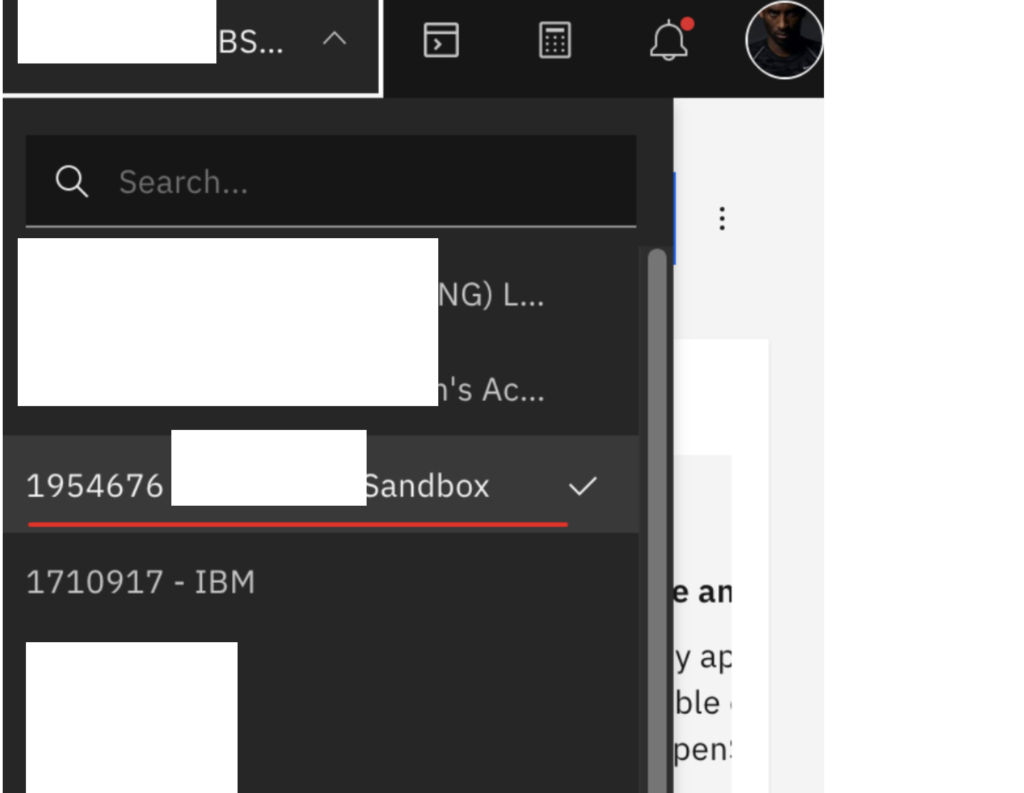
- 登录https://cloud.ibm.com, 切换账号为
xxx Cloud Sandbox
- 选择 cluster:
roks-iip-48
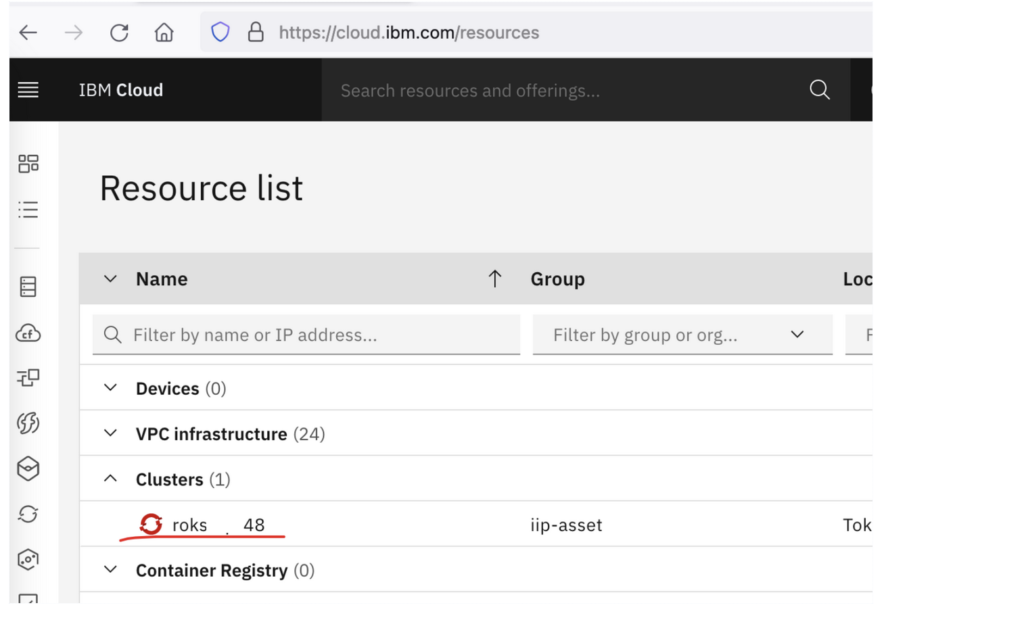
- 点击 OpenShift web console
2. 部署 Demo API
- 切换到 Developer 视图, 点击 +Add > From Git

Repo URL: git@github.ibm.com:iiplab/xxx Cloud.git
- 点击 Show advanced Git options
Context dir 输入 /microservices/demo-api

- Source Secret 选择
repo-at-gitibm - Builder Image 选择
Java, Version 选择openjdk-11-el7
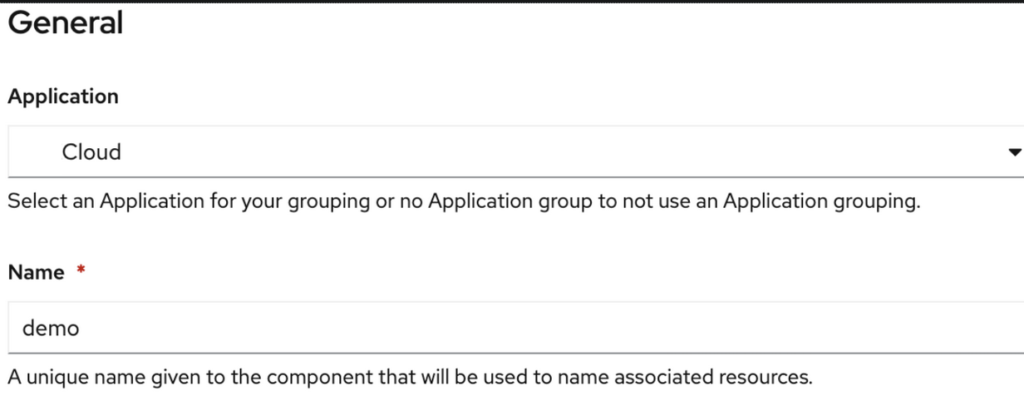
- Application(group) 选择
xxxCloud - Name 输入
demo
- Resouces 选择 DeploymentConfig
- Advanced options, 不要 选择 Create a route to the Application ( 取消选择)
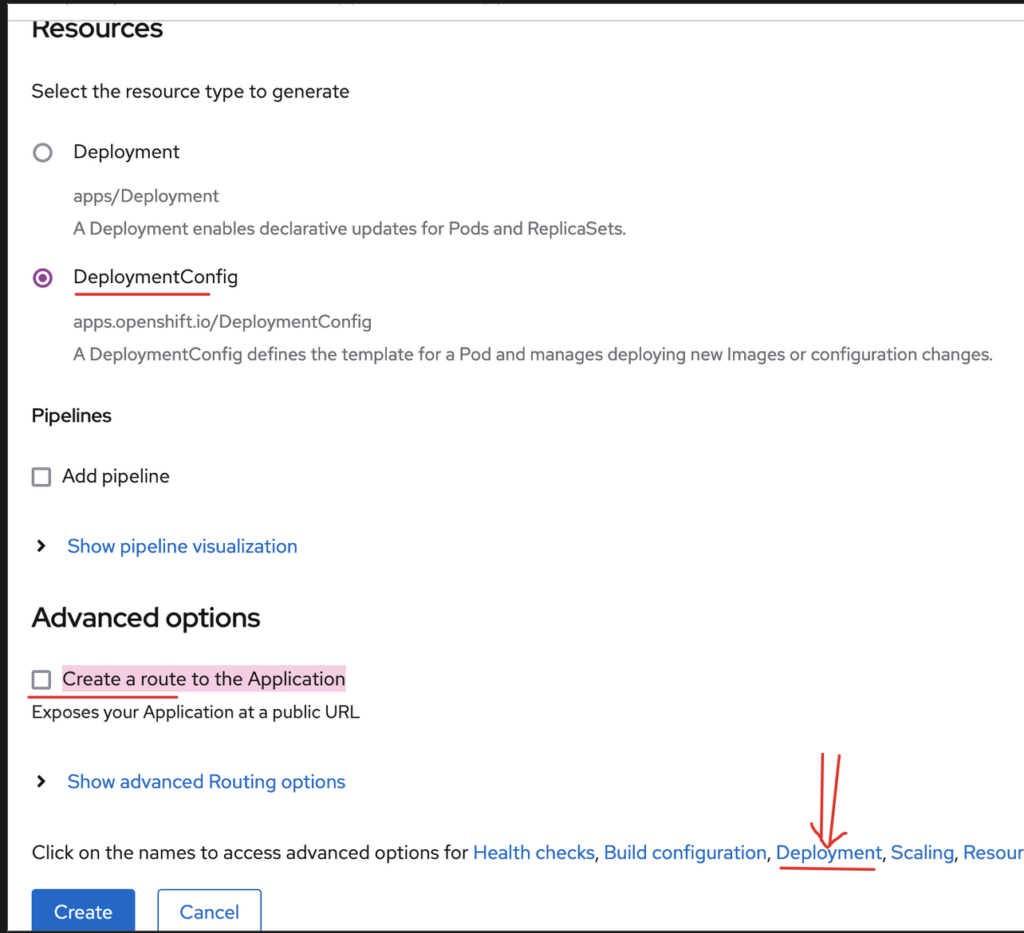
- 点击 Deployment 超链接,如下设置项目启动参数,然后点击 Create 按钮。

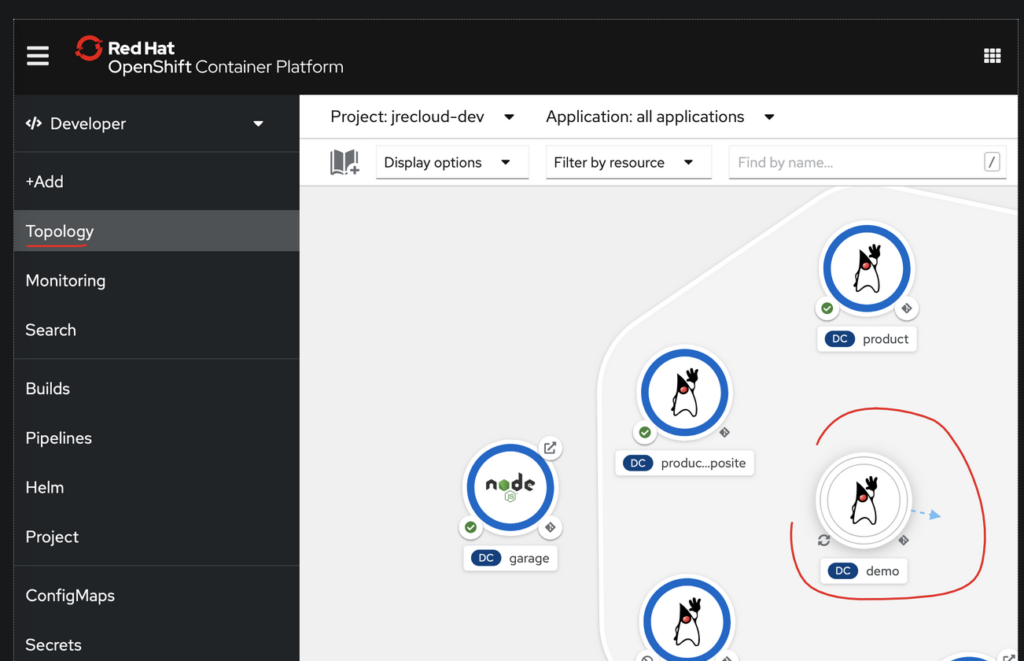
- 接下来, 在 Topology 下 点击 demo
- 然后点击 Builds 下
View logs

- 如果看到 下面的话,表明 Build 成功。
Successfully pushed image-registry.openshift-image-registry.svc:5000/jrecloud-dev/demo
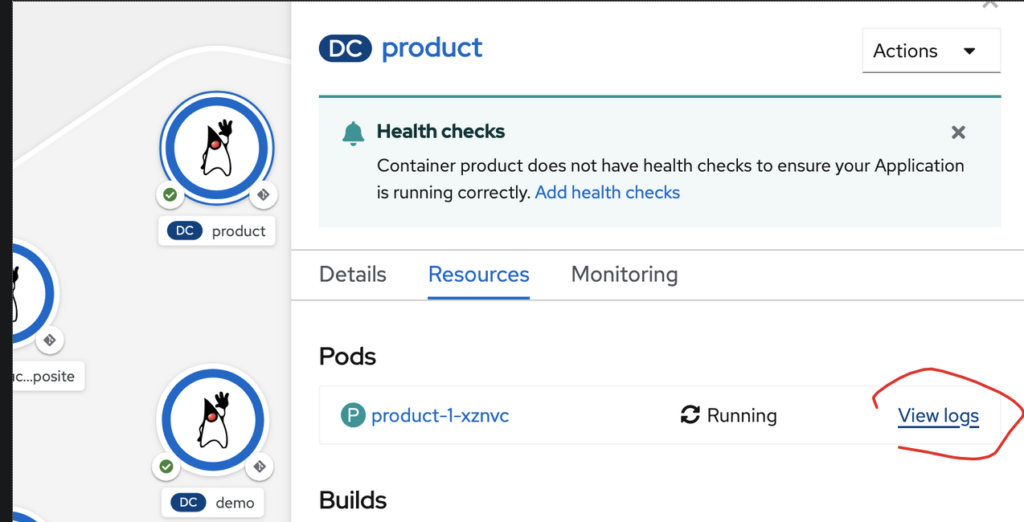
- 接下来在 Topology 下 点击 demo,然后点击 Pods 下
View logs, 如果看到下面的话,表面表明 Deploy 成功。
Tomcat started on port(s): 8080 (http) with context path ”
Started DemoApiApplication in 5.18 seconds (JVM running for 6.415)
3. 修改 K8s Service 端口号为 80(暂不修改)
暂缓
4. 在集群内测试 Demo API
为安全起见,所有的微服务对外都不可见, 用户只能通过统一的服务网关访问微服务(见下一节),但是,集群内的微服务之间是可以相互访问的, 我们可以尝试在 product 服务内访问 demo api, 如下:
- Topology 点击 product, 点击 Pods 下 View logs
- 点击 Terminal 标签页,输入
curl -si http://demo:8080/api/v1/demos/health, 返回Demo works.表明微服务间(product -> demo)可以通过 kube proxy 正常通信。