此教程不涉及docker安装教程
1、选择一个新建一个路径作为QB的docker存放路径
mkdir -p /home/docker/qbittorrent/config
2、新建一个路径作为qb的下载存放路径
mkdir -p /home/docker/qbittorrent/downloads
3、通过docker拉取并配置QB
可以在dockerhub网站下载最新版本
https://hub.docker.com/r/linuxserver/qbittorrent/tags
docker pull linuxserver/qbittorrent:4.6.3
以下直接复制
docker run -d \
  --name=qbittorrent \
  -e PUID=1000 \
  -e PGID=1000 \
  -e TZ=Asia/Shanghai \
  -e WEBUI_PORT=8999 \
  -p 52000:52000 \
  -p 52000:52000/udp \
  -p 8999:8999 \
  -v /mnt/qbittorrent/config:/config \
  -v /mnt/qbittorrent/downloads:/downloads \
  --restart unless-stopped \
  linuxserver/qbittorrent:4.6.3
以上直接复制,以下为解释
docker run -d \
  --name=qbittorrent \
  -e PUID=1000 \
  -e PGID=1000 \
  -e TZ=Asia/Shanghai \
  -e WEBUI_PORT=8999 \      #QB的webui访问端口设置
  -p 52000:52000 \          #qb的track传入连接端口
  -p 52000:52000/udp \      #qb的track传入连接端口
  -p 8999:8999 \            #QB的webui访问端口
  -v /mnt/qbittorrent/config:/config \    #QB的数据存放路径
  -v /mnt/qbittorrent/downloads:/downloads \    #QB的下载存放路径,在QB里面,下载到/downloads路径就会下载到/home/docker/qbittorrent/downloads路径
  --restart unless-stopped \
  linuxserver/qbittorrent:4.6.3
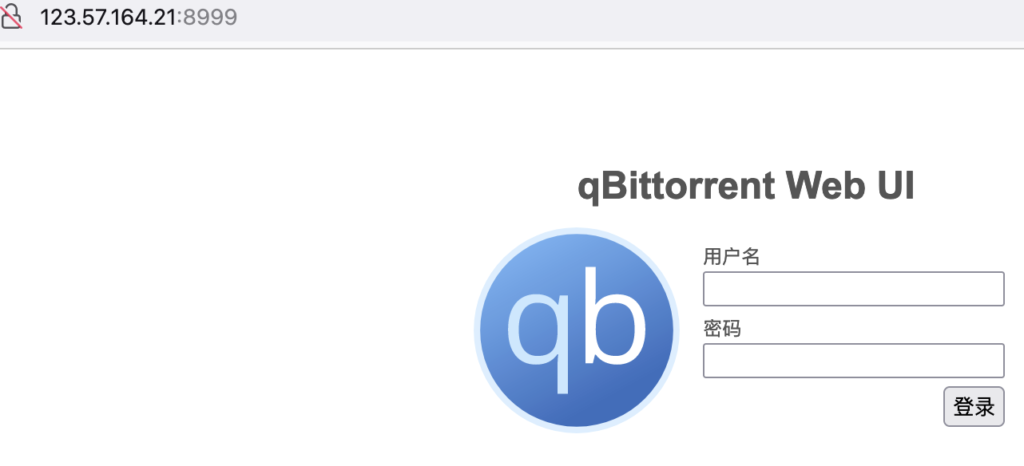
4、输入ip:8999进入qb的web界面,账号admin,初始密码的话,需要进入容器查询
docker logs qbittorrent
[root@aliyun ~]# docker logs qbittorrent
[migrations] started
[migrations] no migrations found
───────────────────────────────────────

      ██╗     ███████╗██╗ ██████╗
      ██║     ██╔════╝██║██╔═══██╗
      ██║     ███████╗██║██║   ██║
      ██║     ╚════██║██║██║   ██║
      ███████╗███████║██║╚██████╔╝
      ╚══════╝╚══════╝╚═╝ ╚═════╝

   Brought to you by linuxserver.io
───────────────────────────────────────

To support LSIO projects visit:
https://www.linuxserver.io/donate/

───────────────────────────────────────
GID/UID
───────────────────────────────────────

User UID:    1000
User GID:    1000
───────────────────────────────────────

[custom-init] No custom files found, skipping...
WebUI will be started shortly after internal preparations. Please wait...

******** Information ********
To control qBittorrent, access the WebUI at: http://localhost:8999

The WebUI administrator username is: admin
The WebUI administrator password was not set. A temporary password is provided for this session: nIXJLuu5f
You should set your own password in program preferences.
Connection to localhost (127.0.0.1) 8999 port [tcp/*] succeeded!
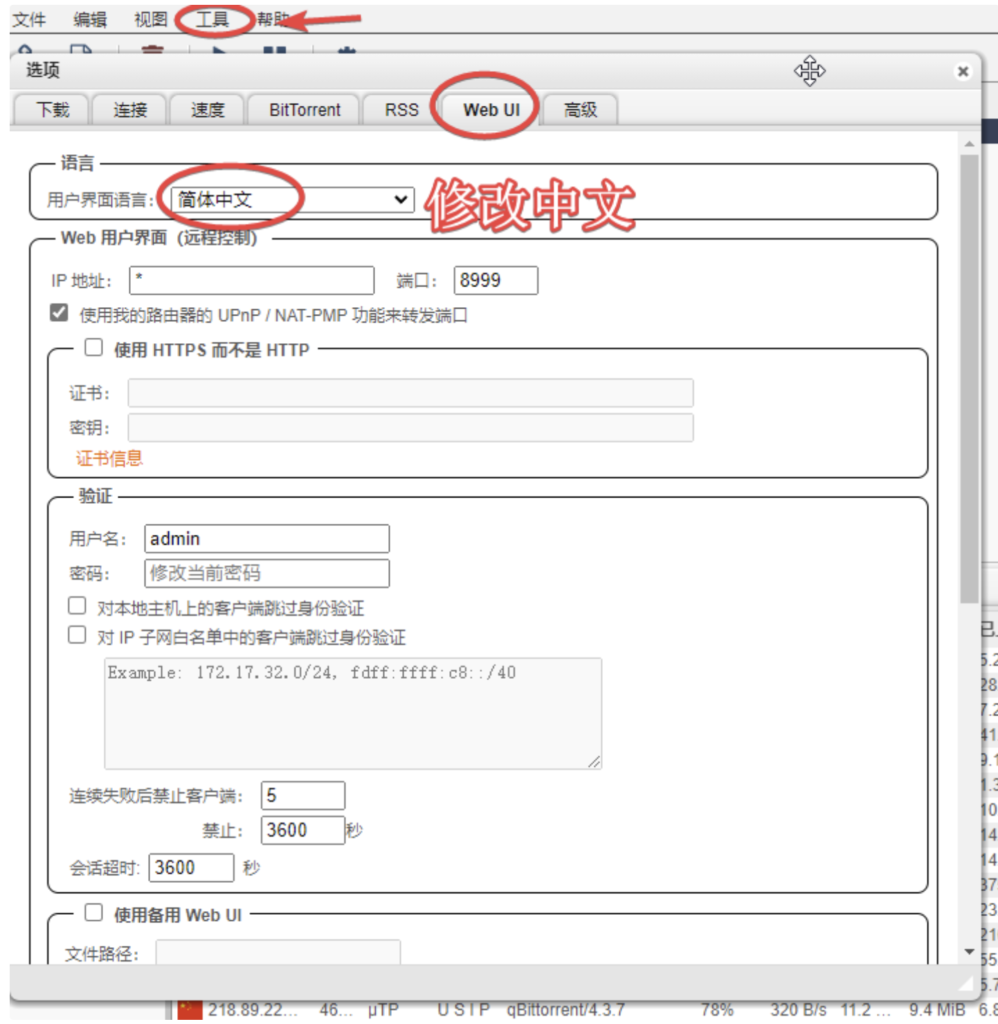
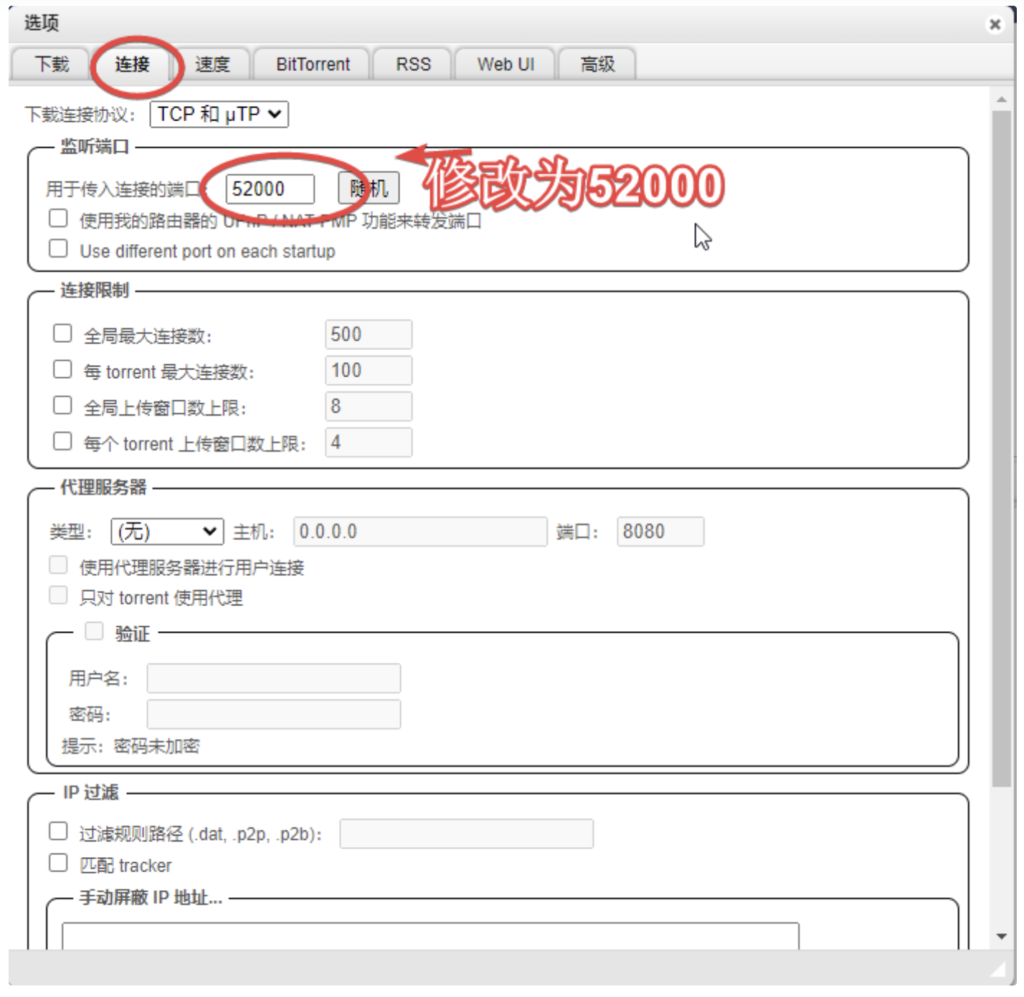
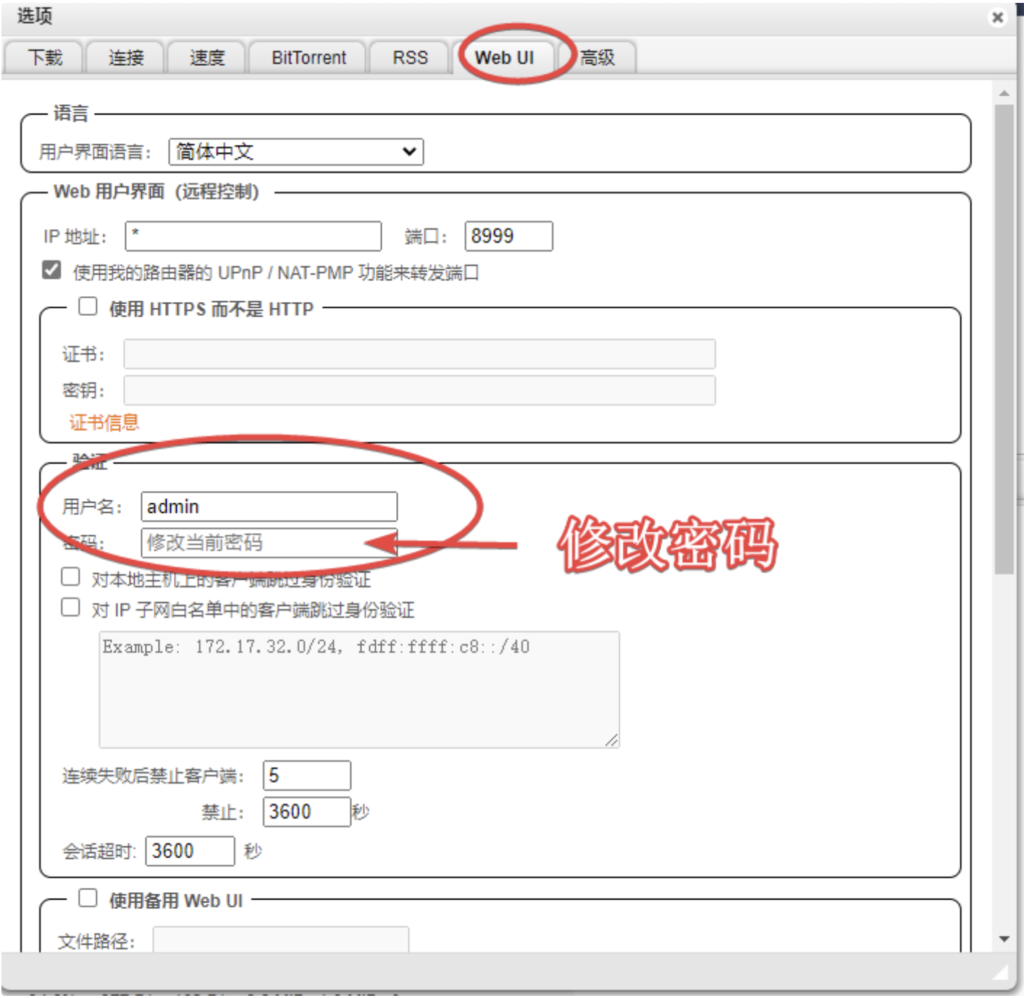
5、更改语言为中文,设置track传入连接端口为52000,修改账号密码,其他选项根据自己情况自行设置
6、在阿里云安全组开放 52000 和 8999端口。

