问题:在项目启动时,我们需要加载或者预先完成某些动作,该怎么办呢?
解决办法:在springBoot中是实现CommandLineRunner接口类
CommandLineRunner翻译过来就是“命令行运行者”,很形象😏
项目启动之前,预先加载数据。比如,权限容器、特殊用户数据等。通常我们可以使用监听器、事件来操作。但是,springboot提供了一个简单的方式来实现此类需求,即,CommandLineRunner。
先了解一下这个类
import org.springframework.core.Ordered;
import org.springframework.core.annotation.Order;

/**
 * Interface used to indicate that a bean should <em>run</em> when it is contained within
 * a {@link SpringApplication}. Multiple {@link CommandLineRunner} beans can be defined
 * within the same application context and can be ordered using the {@link Ordered}
 * interface or {@link Order @Order} annotation.
 * <p>
 * If you need access to {@link ApplicationArguments} instead of the raw String array
 * consider using {@link ApplicationRunner}.
 *
 * @author Dave Syer
 * @see ApplicationRunner
 */
@FunctionalInterface
public interface CommandLineRunner {

	/**
	 * Callback used to run the bean.
	 * @param args incoming main method arguments
	 * @throws Exception on error
	 */
	void run(String... args) throws Exception;

}
文档中,我们可以知道以下几点。
- 这是一个接口,用户可以自定义实现该接口,具体实现run方法
- 任何在上下文容器之内的bean都可以实现run方法
- 如果在上下文中,存在多个该接口实现类,可以通过@order注解,指定加载顺序
利用command-line runner的这个特性,再配合依赖注入,可以在应用程序启动时后首先引入一些依赖bean,例如data source、rpc服务或者其他模块等等,这些对象的初始化可以放在run方法中。不过,需要注意的是,在run方法中执行初始化动作的时候一旦遇到任何异常,都会使得应用程序停止运行,因此最好利用try/catch语句处理可能遇到的异常。
主要有以下方式:
- (1)
@Component - (2)
@SpringBootApplication - (3)
声明一个实现了CommandLineRunner接口的Bean
1. @Component实现
具体代码如下:
@SpringBootApplication
public class Demo03Application {

    public static void main(String[] args) {
        System.out.println("step 1: The Service will start");
        SpringApplication.run(Demo03Application.class, args);
        System.out.println("step 5: The Service has started");
    }

}
@Component
@Order(1)
class Runner1 implements CommandLineRunner {

    @Override
    public void run(String... args) throws Exception {
        System.out.println("step 3: The Runner1 run...");
    }
}

@Component
@Order(2)
class Runner2 implements CommandLineRunner {

    @Override
    public void run(String... args) throws Exception {
        System.out.println("step 4: The Runner1 run...");
    }
}
运行结果如图所示:
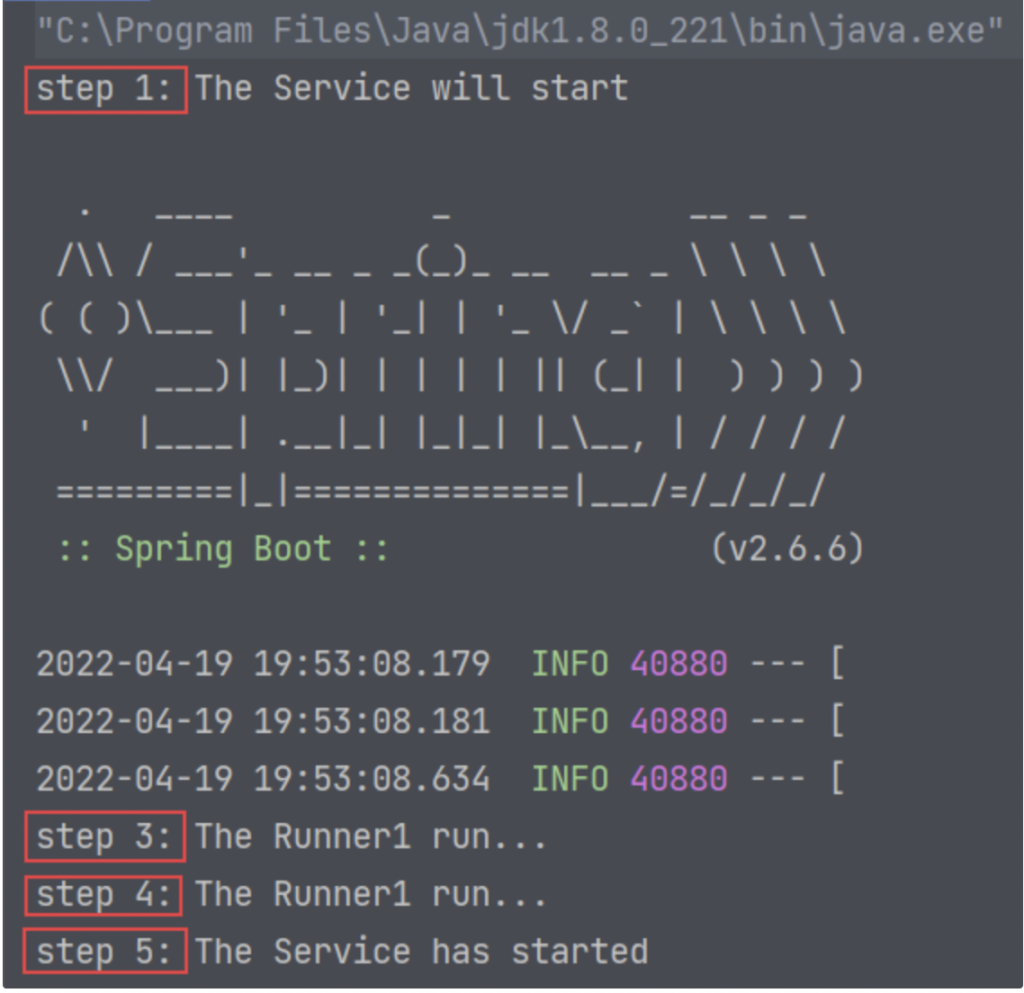
由以上代码可以发现:在SpringApplication.run运行完之后才会运行自己创建的实现类,并且自己的实现类通过@Order()注解控制顺序,数字越小越靠前。
思考一下为什么要加@Component注解呢?
(1)、加入@Component注解后,就可以将对象交给spring管理。
(2)、当Spring 容器初始化完成后, Spring会遍历所有实现CommandLineRunner接口的类, 并运行其run() 方法.
2. @SpringBootApplication实现
具体代码如下
@SpringBootApplication
public class Demo03Application implements CommandLineRunner{

    public static void main(String[] args) {
        System.out.println("step 1: The Service will start");
        SpringApplication.run(Demo03Application.class, args);
        System.out.println("step 5: The Service has started");
    }

    @Override
    public void run(String... args) throws Exception {
        System.out.println("app start");
    }
}
3. @Bean实现
@SpringBootApplication
public class SpringBootWebApplication extends SpringBootServletInitializer {

    public static void main(String[] args) throws Exception {
        SpringApplication.run(SpringBootWebApplication.class, args);
    }

    @Bean
    public ApplicationStartupRunner schedulerRunner() {
        return new ApplicationStartupRunner();
    }
}
public class ApplicationStartupRunner implements CommandLineRunner {
    protected final Log logger = LogFactory.getLog(getClass());
    @Override
    public void run(String... args) throws Exception {
        logger.info("Application Started !!");
    }
}
run(String… args)方法中的args参数是什么
String… args是应用启动的时候可以传进来的参数,有两种方式可以传参
- 一种是命令行的方式传参,所以为什么这个接口叫CommandLineRunner
- 另一种方法是通过IntelliJ IDEA配置参数
下面分别说明
命令行传参
首先将应用打成jar包,然后运行如下命令行,我这里传入三个参数
java -jar MyProject.jar 野猿新一 野猿新二 野猿新三
IntelliJ IDEA传参
如果是在开发过程中想通过IntelliJ IDEA直接运行项目,不想打成jar包,又要传入参数,可以配置项目运行的环境
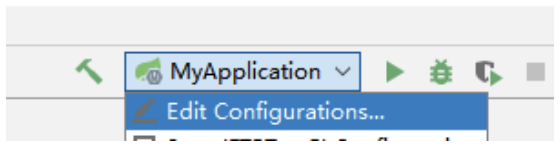
1.点击Edit Configurations…打开项目运行配置对话框
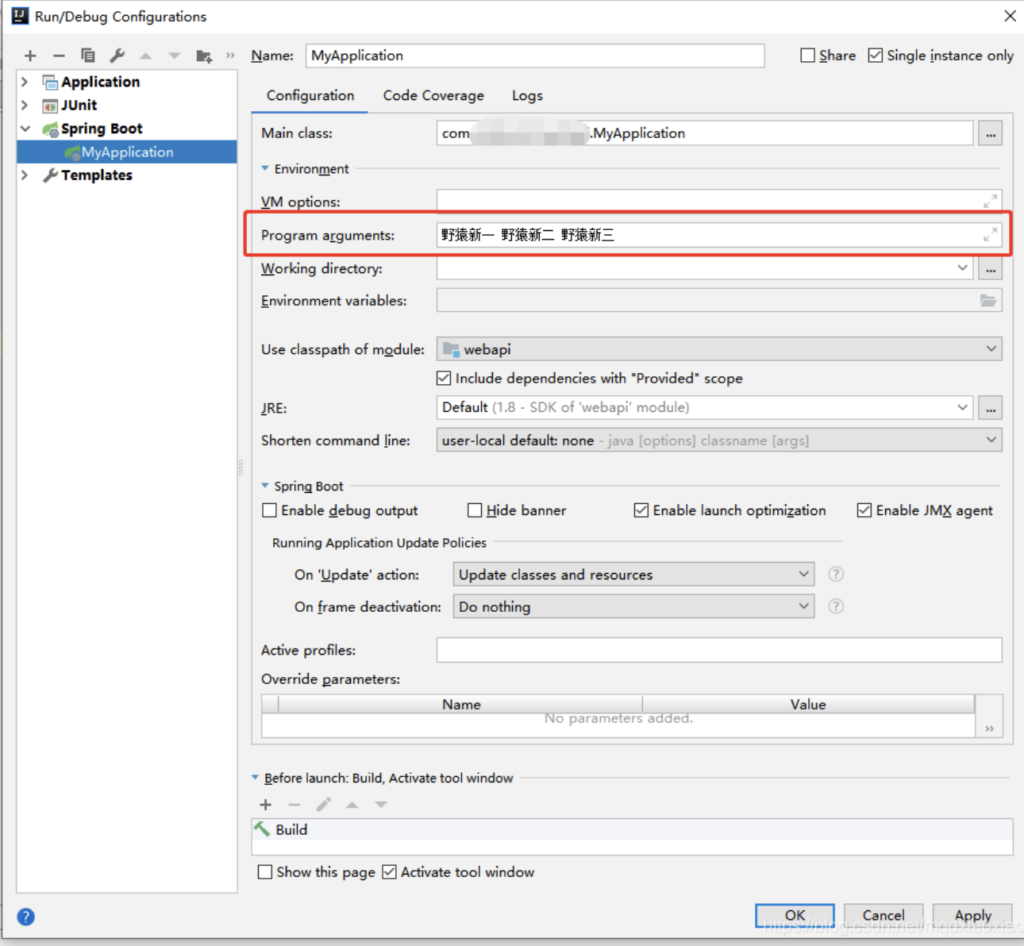
2.展开Environment,在Program arguments项中填入项目运行的参数,点击OK按钮确定
测试
我们将上面的实例稍微修改下,把参数args打印出来
@Component
@Order(value = 1) // 指定其执行顺序,值越小优先级越高
public class MyRunner1 implements CommandLineRunner {
    @Override
    public void run(String... args) throws Exception {
        System.out.println("MyRunner1:" + Arrays.toString(args));
    }
}
采用以上命令行的方式或者IntelliJ IDEA配置参数的方式运行结果一样,如下
2020-08-21 16:36:04.453 custom-logback  INFO 16244 --- [           main] com.yeyuanxinyi.MyApplication      : Started MyApplication in 10.724 seconds (JVM running for 13.727)
MyRunner1:[野猿新一, 野猿新二, 野猿新三]