RedHat OpenShift有Pipline工具可以灵活的实现程序的编译以及发布。下面是通过发布vue的简单demo,给大家演示下过程.
1.在OpenShift控制台–>Operators–>按照Red Hat OpenShift Piplines
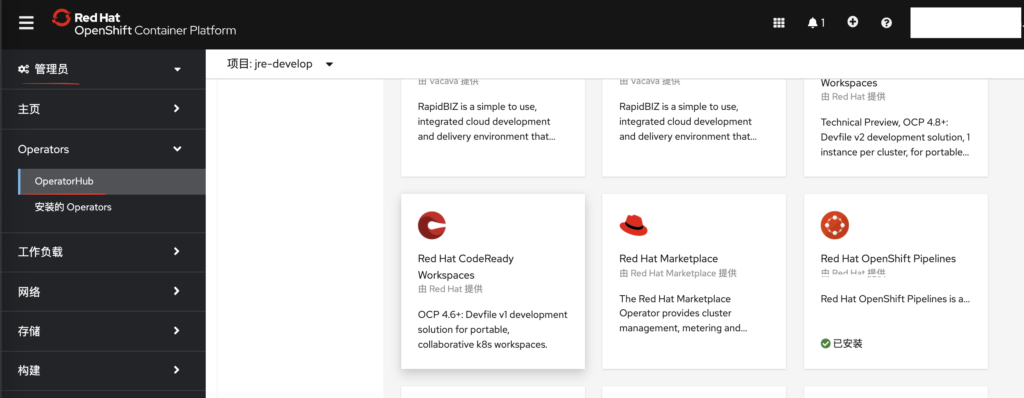
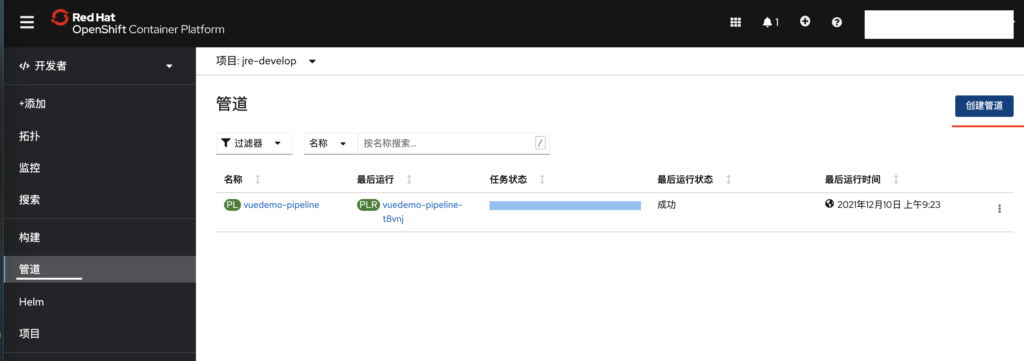
2.安装好以后,切换到开发者视图,可以看到有管道的目录,点击管道开始创建OpenShift Pipline。
3.如果我们熟悉OC命令和Yaml文件的话,可以在终端上用命令直接操作Pipline,我这里都是用控制台做出的。
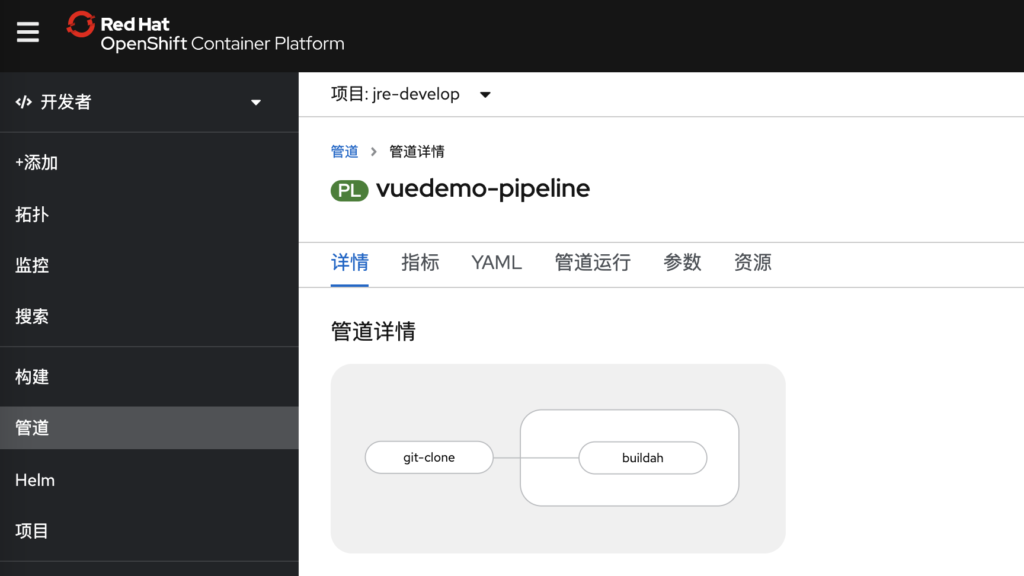
- 主要就是两步,第一步把Github代码下载到共享硬盘空间(工作区),第二步通过工程的DockerFile文件,Build出镜像,并且把镜像推送到OpenShift的镜像库里面。所谓工作区,就是一块共享的硬盘空间,各个Task都可以读取这块硬盘空间的文件,实现Task间的文件共享。
- 下面是Yaml文件,这个文件可以事先手动做成。如果是用图形界面做成Pipeline的话,会自动生成这个文件。
apiVersion: tekton.dev/v1beta1
kind: Pipeline
metadata:
  name: demo-pipeline
spec:
  workspaces:
    - name: shared-workspace
    - name: ssh-directory
  params:
    - name: IMAGE
      description: The image name.
      default: image-registry.openshift-image-registry.svc:5000/demo-dev/admin
  tasks:
    - name: fetch-repository
      taskRef:
        name: git-clone
        kind: ClusterTask
      workspaces:
        - name: output
          workspace: shared-workspace
        - name: ssh-directory
          workspace: ssh-directory
      params:
        - name: url
          value: git@github.ibm.demo/demo.git
        - name: subdirectory
          value: ""
        - name: deleteExisting
          value: "true"
    - name: create-image
      taskRef:
        name: buildah
        kind: ClusterTask
      runAfter:
        - fetch-repository
      params:
        - name: IMAGE
          value: $(params.IMAGE)
      workspaces:
        - name: source
          workspace: shared-workspace
- 下面是Vue工程的DockerFile文件,步骤就是先Pull Node,把vue工程build成JS 和 css静态资源文件,接着再拉取ngnix镜像,把这些资源文件Copy到ngnix中,并且修改ngnix的端口号为8081。
# build stage
FROM node:14.17.6-alpine as build-stage

ARG MODE=staging

WORKDIR /app
COPY package*.json ./
RUN npm install
COPY . .

# see also https://stackoverflow.com/q/50772662/2497876
RUN npm run build -- --mode ${MODE}

# production stage
FROM nginx:1.17.9-alpine as production-stage

# support running as arbitrary user which belogs to the root group
RUN chmod g+rwx /var/cache/nginx /var/run /var/log/nginx
RUN chgrp -R root /var/cache/nginx

# users are not allowed to listen on priviliged ports
RUN sed -i.bak 's/listen\(.*\)80;/listen 8081;/' /etc/nginx/conf.d/default.conf
EXPOSE 8081

# comment user directive as master process is run as user in OpenShift anyhow
RUN sed -i.bak 's/^user/#user/' /etc/nginx/nginx.conf

RUN addgroup nginx root
USER nginx

COPY --from=build-stage /app/dist /usr/share/nginx/html
# COPY prod_nginx.conf /etc/nginx/nginx.conf

CMD ["nginx", "-g", "daemon off;"]
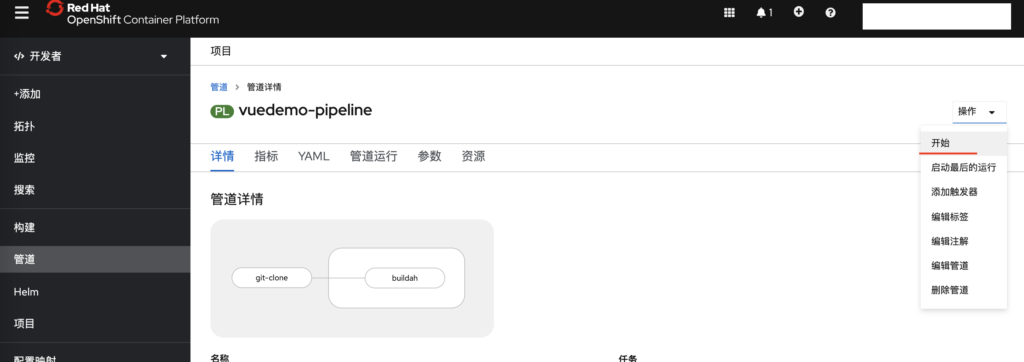
4.管道运行方法,可以点操作—>开始, 也可以在终端上用OC命令去Run。
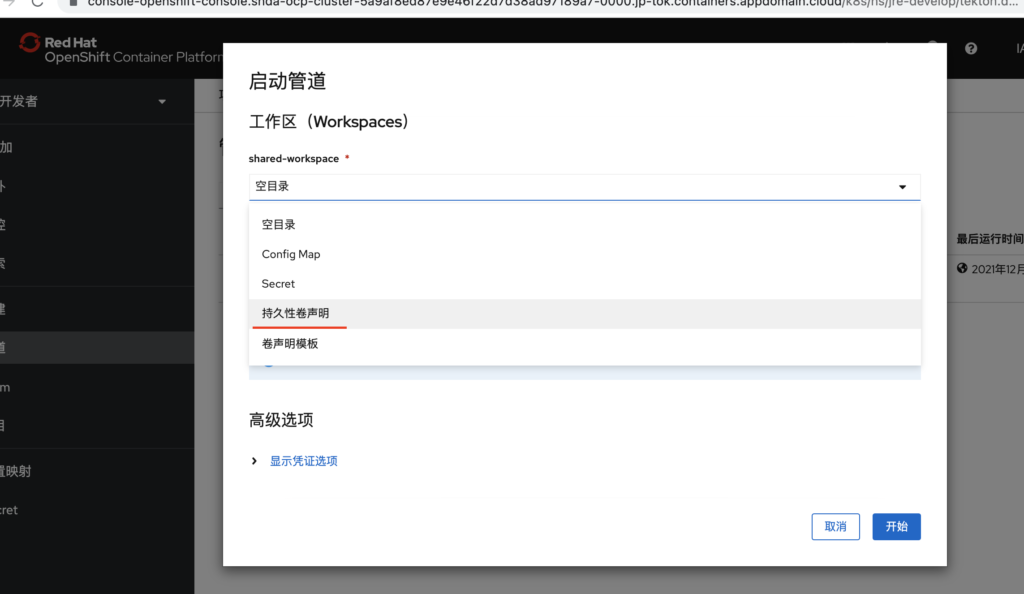
这里务必选择 持久性声明(事先创建好的硬盘),选择卷声明模版会创建出来一堆新的硬盘块。
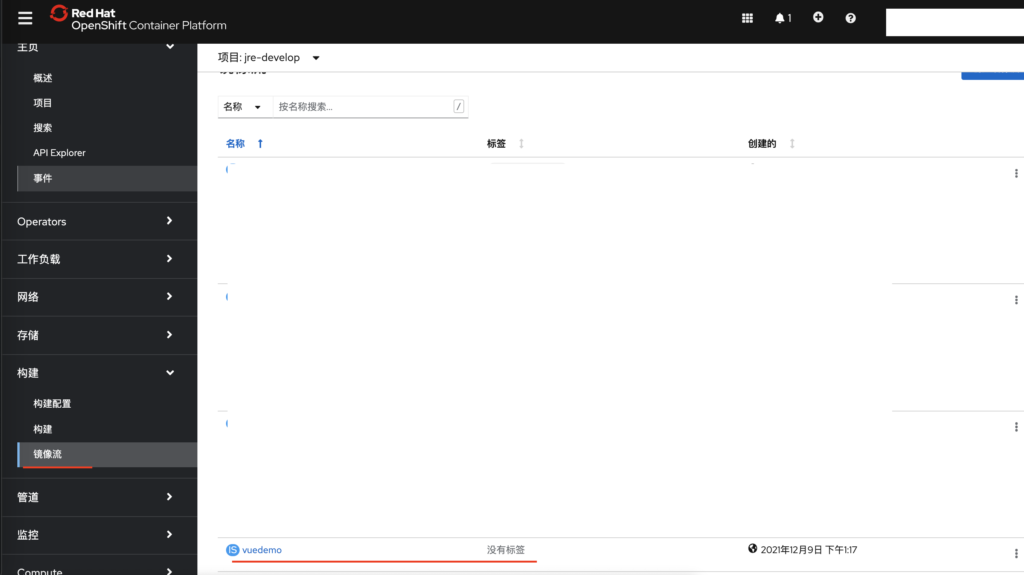
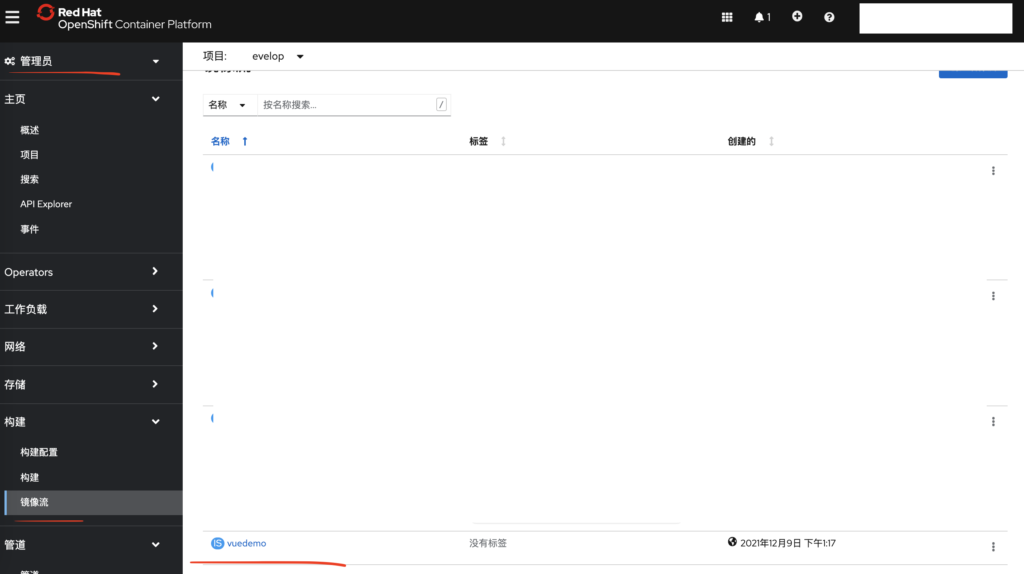
5.正常Build好以后,就可以在镜像流中看到我们生成好的镜像了。
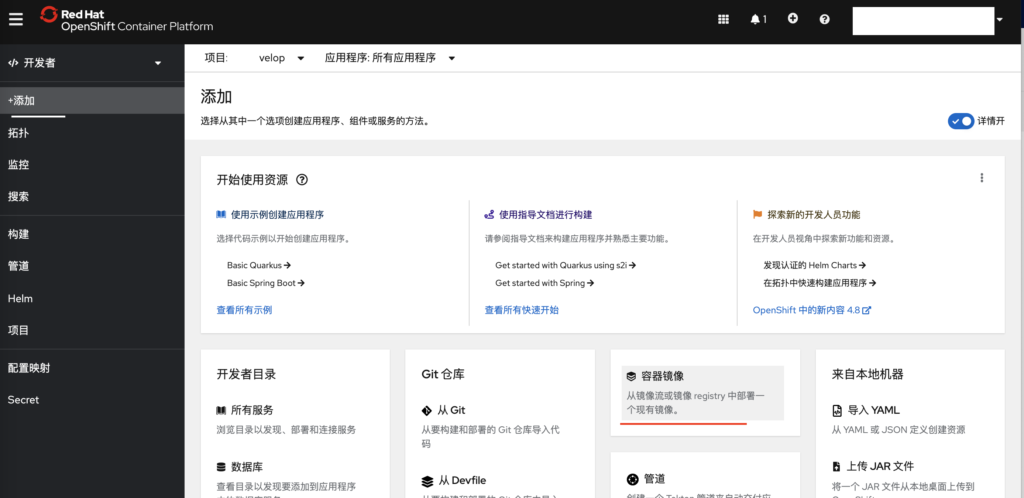
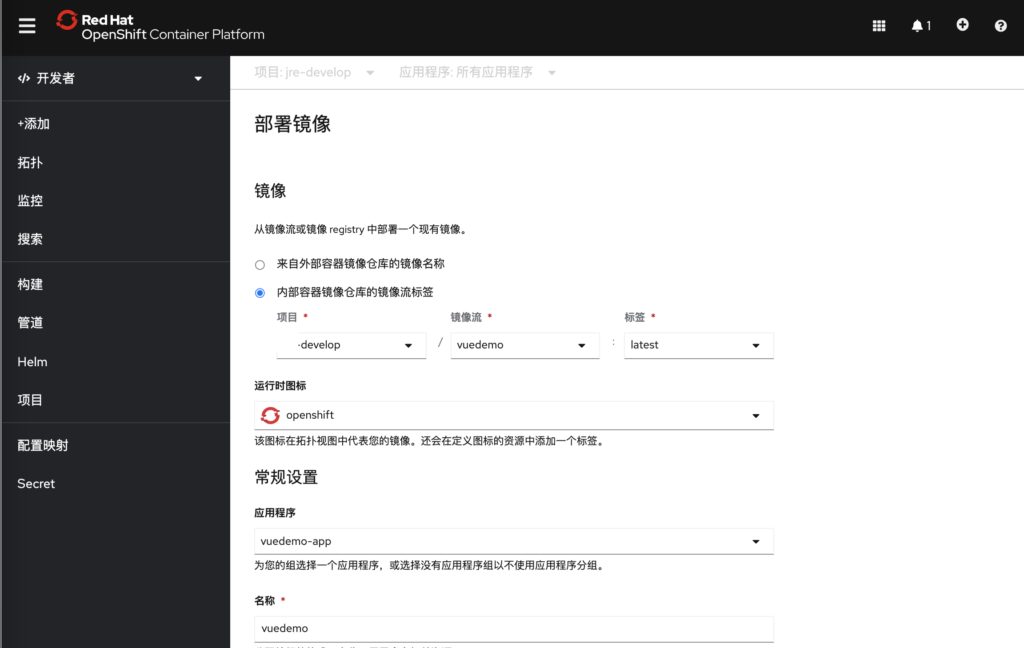
6.点击添加,容器镜像,找到刚才创建好的镜像流,发布即可。
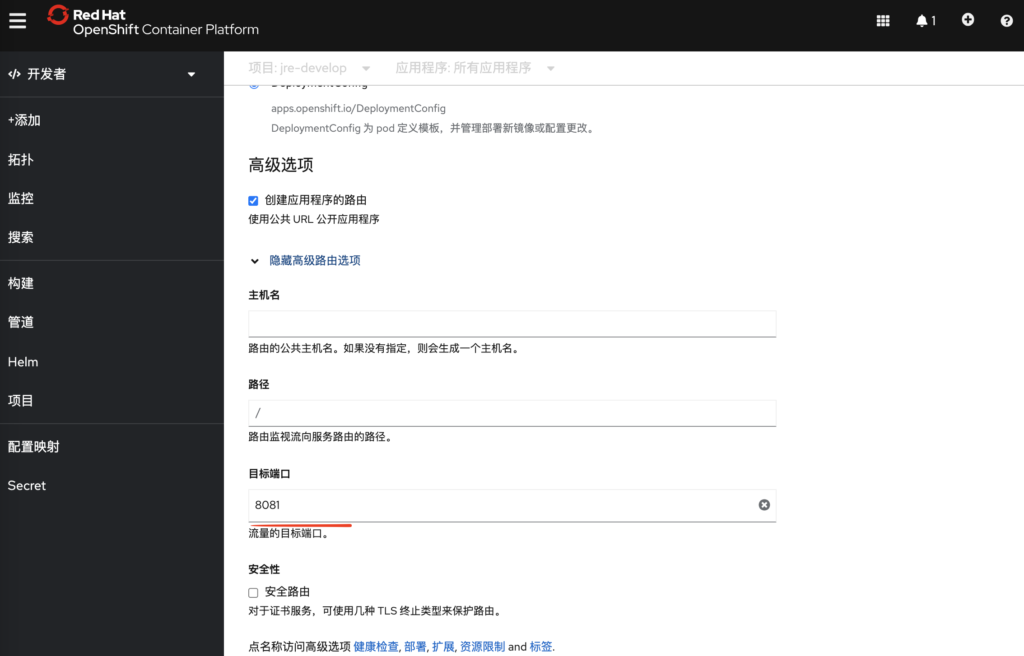
- 注意端口号和DockerFile中要对上都是8081
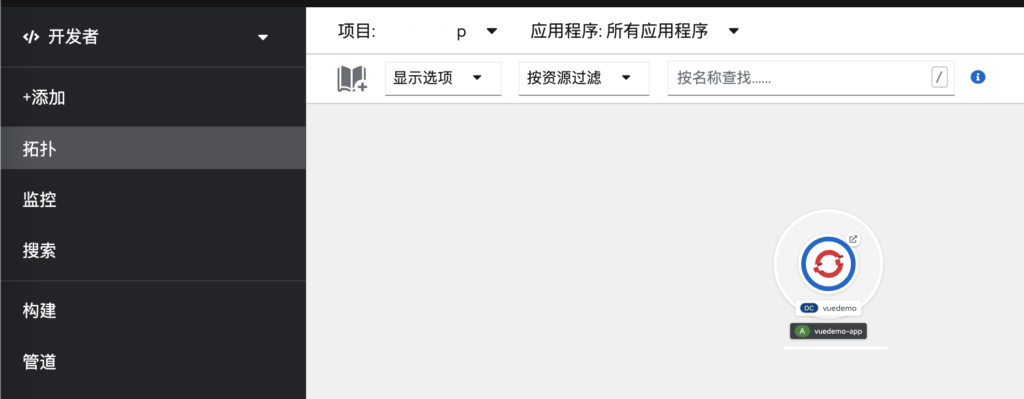
- 发布成功
7.如何设定,代码一提交到Github上,就自动Build镜像呢?这里需要配置触发器。
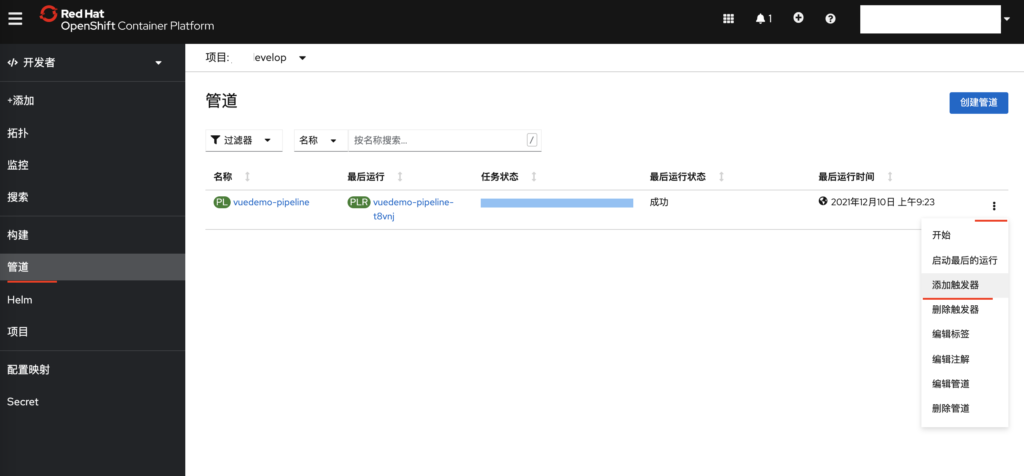
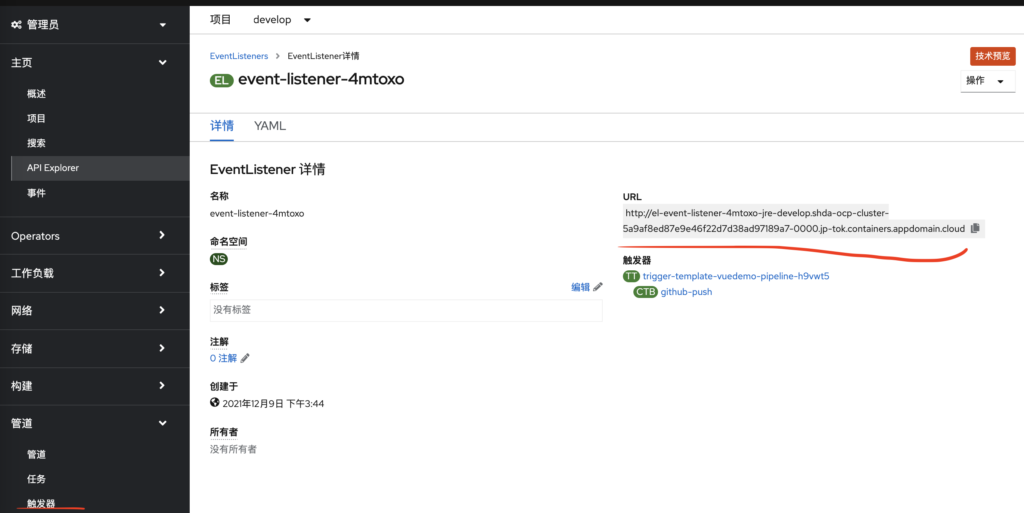
- 这里添加一个Github的触发器,添加成功以后,可以在看管理员界面下,看到触发器详情。
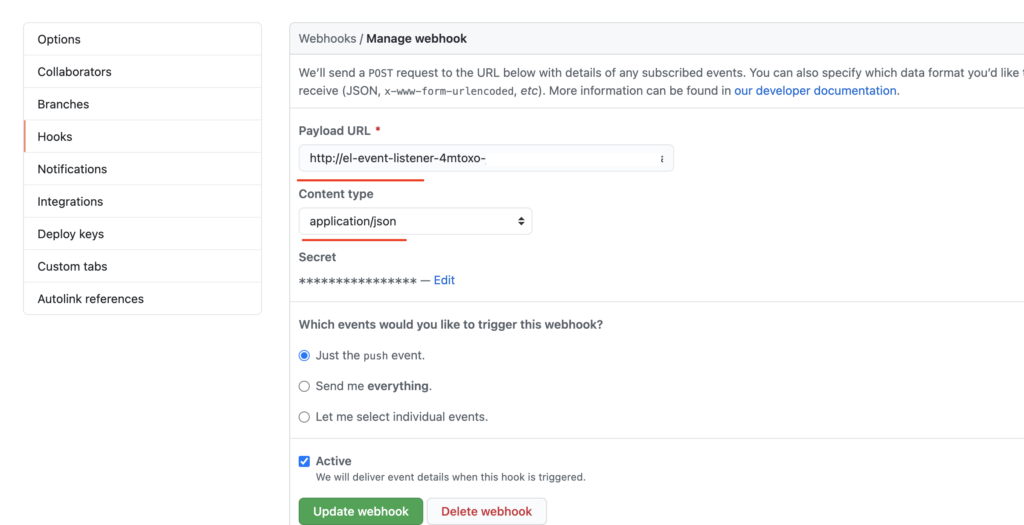
- 去Github端配置触发器。Settings–>Hooks–>Add webhook
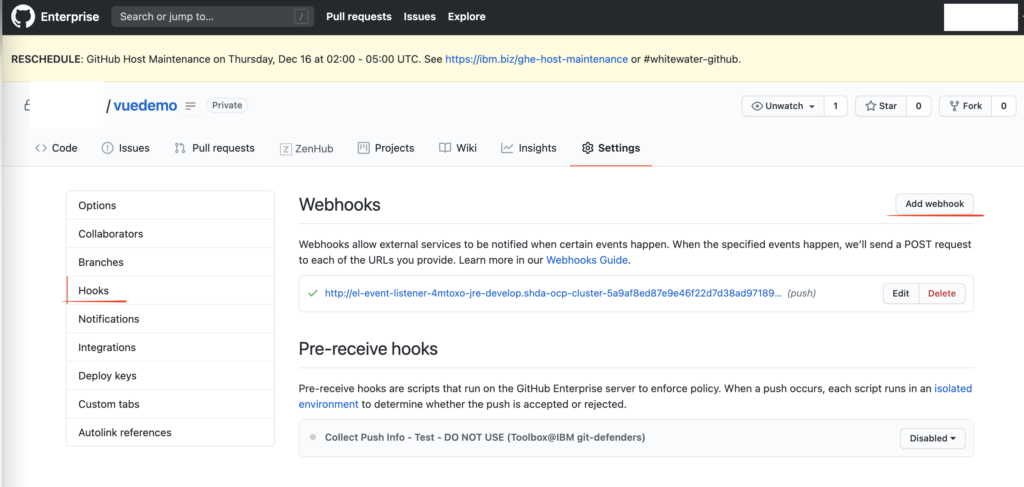
- Payload URL把OpenShift 触发器的URL粘贴上, Content type输入application/json, 做成就可以了。