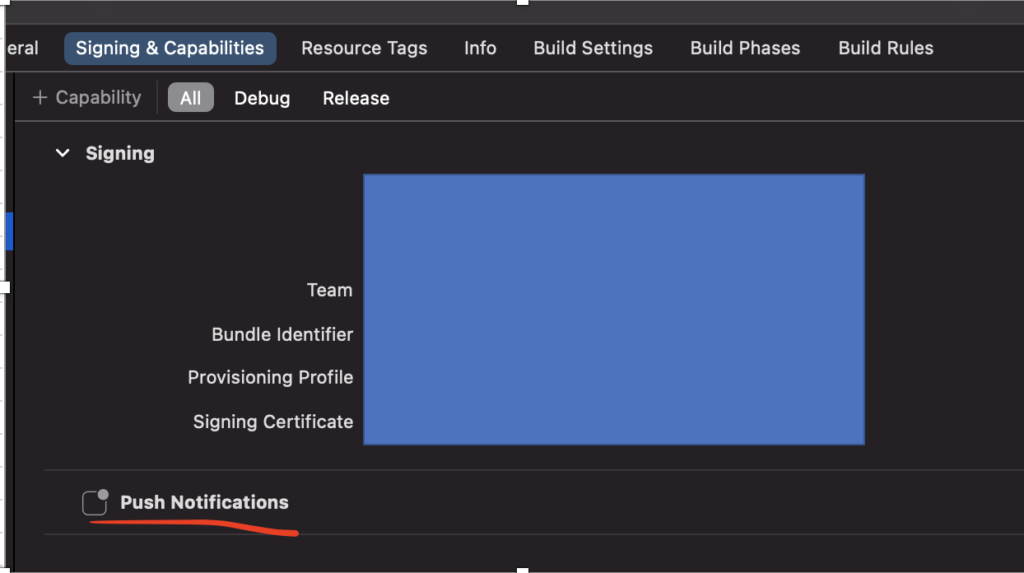
打开 「Push Notifications」Capability
需要有开发者账号才能使用这个Capability
在AppDelegate.swift中申请通知权限,并且得到Apns ID
import UIKit

@main
class AppDelegate: UIResponder, UIApplicationDelegate, UNUserNotificationCenterDelegate {

    func application(_ application: UIApplication, didFinishLaunchingWithOptions launchOptions: [UIApplication.LaunchOptionsKey: Any]?) -> Bool {
        // Override point for customization after application launch.
        UNUserNotificationCenter.current().delegate = self

        print(UIDevice.current.identifierForVendor!.uuidString)
        // 通知権限取得
        UNUserNotificationCenter.current().requestAuthorization(options: [.alert, .sound, .badge]) {
            granted, error in
            if granted {
                //许可通知以后, 会从苹果的apns服务器,申请apns_id
                DispatchQueue.main.async(execute: {
                    UIApplication.shared.registerForRemoteNotifications()
                })
            }
        }

        return true
    }

    // MARK: UISceneSession Lifecycle

    func application(_ application: UIApplication, configurationForConnecting connectingSceneSession: UISceneSession, options: UIScene.ConnectionOptions) -> UISceneConfiguration {
        // Called when a new scene session is being created.
        // Use this method to select a configuration to create the new scene with.
        return UISceneConfiguration(name: "Default Configuration", sessionRole: connectingSceneSession.role)
    }

    func application(_ application: UIApplication, didDiscardSceneSessions sceneSessions: Set<UISceneSession>) {
        // Called when the user discards a scene session.
        // If any sessions were discarded while the application was not running, this will be called shortly after application:didFinishLaunchingWithOptions.
        // Use this method to release any resources that were specific to the discarded scenes, as they will not return.
    }

    // apns_id申请成功会进入这个方法。
    func application(_ application: UIApplication, didRegisterForRemoteNotificationsWithDeviceToken deviceToken: Data) {

         let uuid = UIDevice.current.identifierForVendor!.uuidString
         let deviceName = UIDevice.current.name

        // 把取得的Apns_Id 和 uuid mapping在一起插入到数据库中保存。
        HttpService.insertApnsTable(uuid: uuid, deviceName: deviceName, apnsId: deviceToken.hexString){
            let _: [String:Any] = $0
        }
       }

    func application(_ application: UIApplication, didFailToRegisterForRemoteNotificationsWithError error: Error) {
        print(error.localizedDescription)
    }
    func userNotificationCenter(_ center: UNUserNotificationCenter,
                                willPresent notification: UNNotification,
                                withCompletionHandler completionHandler: @escaping (UNNotificationPresentationOptions) -> Void)
    {
        completionHandler([.badge, .sound, .banner])
    }

    func userNotificationCenter(_ center: UNUserNotificationCenter, didReceive response: UNNotificationResponse, withCompletionHandler completionHandler: @escaping () -> Void) {
        completionHandler()
    }
}

extension Data {
    var hexString: String {
        let hexString = map { String(format: "%02.2hhx", $0) }.joined()
        return hexString
    }
}
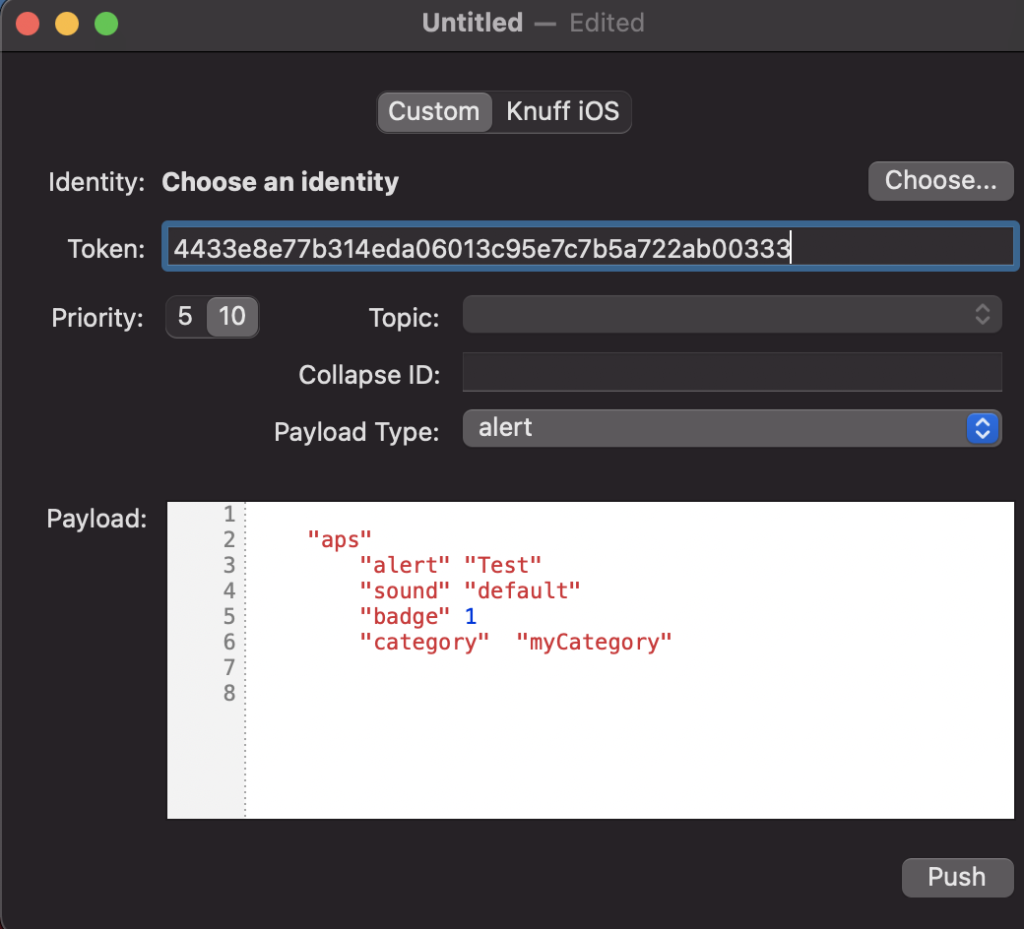
消息推送测试可以用Knuff
https://github.com/KnuffApp/Knuff
也可以用nodejs 代码推送通知
Nodejs发送remote通知,主要用apn模块。npm install apn即可使用。
const apn = require("apn");
// 重要,否则会出警告
// MaxListenersExceededWarning: Possible EventEmitter memory leak detected
require('events').EventEmitter.prototype._maxListeners = 100;

var options = {
  // 重要推送证书必须的p12文件
  pfx: "./xxx/apns.p12",
  // p12文件的密码
  passphrase: "password",
  production: true,
  // 重要!!! 不加这句话 有时候会出错。
  rejectUnauthorized: false
};

var apnProvider = new apn.Provider(options);

function sendMessage(deviceToken, uuid) {

  console.log("sendMessage")
  let notification = new apn.Notification();
  /// Convenience setter
  notification.title = "Hello World";
  notification.body = "";
  notification.badge = 1;
  // 重要必须和app的Bundle identifier能match上。
  notification.topic = "com.cn.test";
  notification.sound = "default";
  // 非常重要, 对应 PushNotificationPayload.apns的category, 只有设定才能显示自定义通知视图。
  notification.category = "myCategory";
  notification.launchImage = uuid;

  // 这里的deviceToken就是苹果的apns_ID
  apnProvider.send(notification, deviceToken).then((result) => {
    console.log(result.failed)
  });
}

module.exports = {
  sendMessage
}
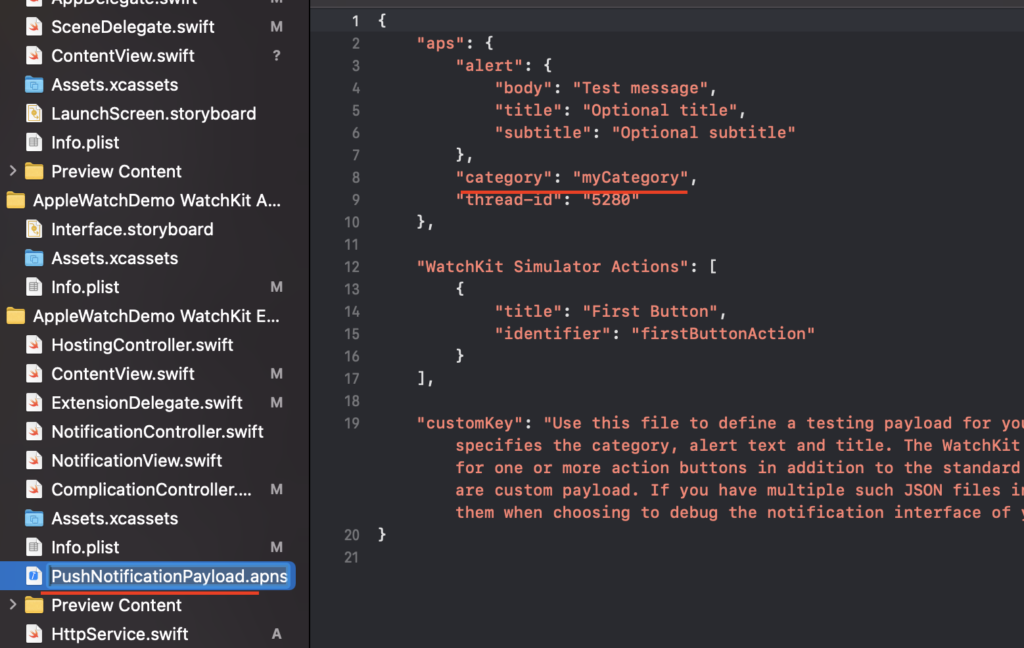
另外,AppleWatch可以自定义通知界面,注意点如下
- 注意 PushNotificationPayload.apns文件。category很重要,发送remote通知时,需要指定category的名字,这样才能显示出来自定义的通知。
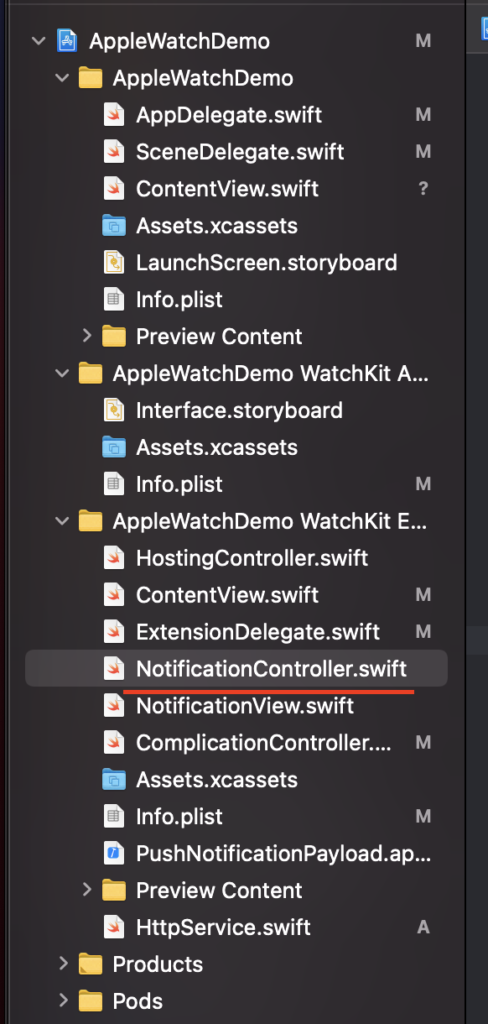
- NotificationController.swift类,收到通知时,会首先调用NotificationController,在该类didReceive方法中能收到通知的值。
import WatchKit
import SwiftUI
import UserNotifications
import Starscream

// 在AppleWatch中也可以连接WebSocket
class NotificationController: WKUserNotificationHostingController<NotificationView>, WebSocketDelegate {

    var uuid:String = ""
    override var body: NotificationView {
        return NotificationView(uuid: uuid)
    }

    override func willActivate() {
        // This method is called when watch view controller is about to be visible to user
        super.willActivate()
        notificationController = self
    }

    override func didDeactivate() {
        // This method is called when watch view controller is no longer visible
        super.didDeactivate()

    }
    // 消息送来时, 会激活这个方法, 可以从notification中取得消息中的一些值, 并把值传给NotificationView
    override func didReceive(_ notification: UNNotification) {
        //这里收到通知发过来的uuid
        uuid = notification.request.content.launchImageName
        // This method is called when a notification needs to be presented.
        // Implement it if you use a dynamic notification interface.
        // Populate your dynamic notification interface as quickly as possible.

        重要:消息显示5秒后,自动关闭
        DispatchQueue.main.asyncAfter(deadline: .now() + .seconds(5)) {
            self.performDismissAction()
        }
    }

    func didReceive(event: WebSocketEvent, client: WebSocket) {
        switch event {
        case .connected(_):
            break
        case .disconnected(_,_):
            break
        case .text(_):
            break
        case .binary(_):
            break
        case .ping(_):
            break
        case .pong(_):
            break
        case .reconnectSuggested(_):
            break
        case .error(_):
            break
    }
}

extension Notification.Name {
    static var connected: Notification.Name {
        Notification.Name("connected")
    }
}
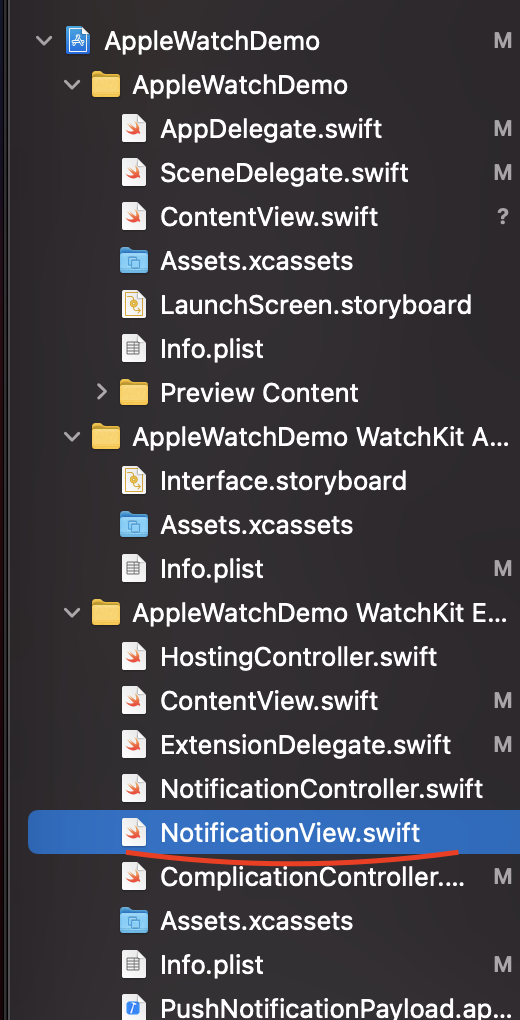
- NotificationView类,这个类就是通知的视图View了,例子中是SwiftUI画的。
import SwiftUI
import Starscream

var socket: WebSocket?
var request: URLRequest?
var notificationController: NotificationController?

struct NotificationView: View {
    // 从NotificationController.swift传过来的值
    @State var uuid:String
    var body: some View {
            VStack(spacing: 0) {
                VStack{
                    HStack {
                        Text(self.uuid)
                        Spacer()
                    }
                    Spacer()
                }.frame(width: 160, height: 65)

                Spacer().frame(height: 8)

                // 通知视图里面也可以连接websocket服务器。
                Button(action: {
                    request = URLRequest(url: URL(string: "ws://localhost:6003")!)
                    request!.setValue("xxxxxxxx", forHTTPHeaderField: "apikey")
                    request!.setValue(self.uuid, forHTTPHeaderField: "uuid")
                    request!.timeoutInterval = 5
                    socket = WebSocket(request: request!)
                    socket!.delegate = notificationController
                    socket!.connect()
                })
                {
                    Text("connect WebSocket Server")
                }
                .frame(width: 155)
            }
        }
    }
- 另外在ios中 websocket主要用Starscream第三方库。下面是Starscream pod文件。
# Uncomment the next line to define a global platform for your project
# platform :ios, '9.0'

target 'AppleWatchDemo' do
  # Comment the next line if you don't want to use dynamic frameworks
  use_frameworks!

  # Pods for AppleWatchDemo

end

target 'AppleWatchDemo WatchKit App' do
  # Comment the next line if you don't want to use dynamic frameworks
  use_frameworks!

  # Pods for AppleWatchDemo WatchKit App

end

target 'AppleWatchDemo WatchKit Extension' do
  # Comment the next line if you don't want to use dynamic frameworks
  use_frameworks!
  pod 'Starscream'

  # Pods for AppleWatchDemo WatchKit Extension

end
远程通知也可以自定义通知声音
- 制作完文件后,最简单的方法是将其放入应用程序捆绑包中。就是把自定义的声音文件拖拽到工程里面(Copy items if needed)

- 在Nodejs代码中指定声音文件的名字就可以了。
let notification = new apn.Notification();
  notification.title = "XXXXX";
  notification.body = message;
  notification.badge = 0;
  notification.topic = "XXXXXX";
  // ※这里指定声音文件的名字
  notification.sound = "ABC.m4a";
  // notification.category = "myCategory";
- 注意:音频文件的类型 wav, ma4, caf。自定义声音在播放时必须在30秒以内。如果自定义声音超过该限制,则会播放默认的系统声音。